OpenStack install on Ubuntu 16.04 server - DevStack
In this tutorial, we'll see how to install OpenStack for testing and development (DevStack).
Here is the guide : How To Get Started With OpenStack
In our case, we'll choose Option 2: Local Dev Environment: devstack.org:
With some technical skills, DevStack is a great option to install and run an OpenStack cloud on your laptop (or even inside the VM on a cloud). DevStack is ideal for potential users who want to see what the Dashboard looks like from an admin or user perspective, and OpenStack contributors wanting to test against a complete local environment.
Description from DevStack
DevStack is a series of extensible scripts used to quickly bring up a complete OpenStack environment based on the latest versions of everything from git master. It is used interactively as a development environment and as the basis for much of the OpenStack project's functional testing.
It looks like installing DevStack directly on Ubuntu 16 desktop is not recommended:

Also, according to https://github.com/openstack-dev/devstack:
IMPORTANT: Be sure to carefully read stack.sh and any other scripts you execute before you run them, as they install software and will alter your networking configuration. We strongly recommend that you run stack.sh in a clean and disposable vm when you are first getting started.
Get the image using the following command:
$ wget http://releases.ubuntu.com/16.04.1/ubuntu-16.04.1-server-amd64.iso
or
Download it from https://www.ubuntu.com/download/server
Click "New" and type in the descriptive name for VM:
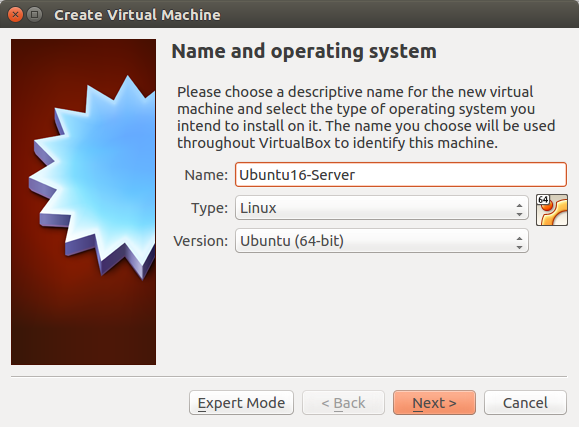
Then, follow all the steps accepting the default.
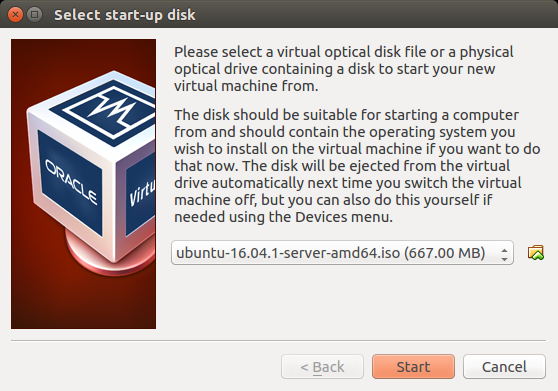
Once a VM is created, click "Start", and select "iso":
We may want to install ssh server if we missed it during Ubuntu install:
$ sudo apt-get install openssh-server
Using ssh into the guest not only more natural but also can be used as a way of avoiding setting cumbersome "Cut & Paste" feature of VirtualBox.
To ssh into our VirtualBox from host machine, we need to ip by "ifconfig" command, and usually it is 10.0.2.15.
We can use port forwarding via NAT:
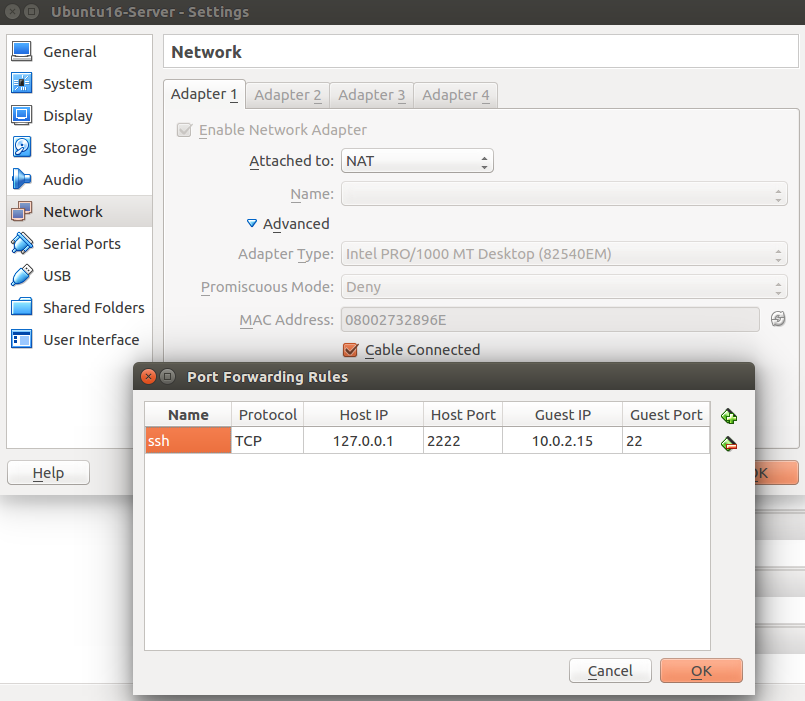
From host machine (k@laptop), let's try to ssh into guest (k@ubuntu):
k@laptop:~/Downloads$ ssh -p 2222 k@127.0.0.1
The authenticity of host '[127.0.0.1]:2222 ([127.0.0.1]:2222)' can't be established.
ECDSA key fingerprint is SHA256:EZchXzcb+6kQMHH73fjuCsvckCJfQDEhWahecleT5KE.
Are you sure you want to continue connecting (yes/no)? yes
Warning: Permanently added '[127.0.0.1]:2222' (ECDSA) to the list of known hosts.
k@127.0.0.1's password:
Permission denied, please try again.
k@127.0.0.1's password:
Welcome to Ubuntu 16.04.1 LTS (GNU/Linux 4.4.0-31-generic x86_64)

 * Documentation:  https://help.ubuntu.com
 * Management:     https://landscape.canonical.com
 * Support:        https://ubuntu.com/advantage

128 packages can be updated.
75 updates are security updates.

Last login: Mon Dec 19 03:36:00 2016
k@ubuntu:~$

k@ubuntu:~$ lsb_release -a
No LSB modules are available.
Distributor ID:	Ubuntu
Description:	Ubuntu 16.04.1 LTS
Release:	16.04
Codename:	xenial
Devstack should be run as a non-root user with sudo enabled. Let's create a separate stack user to run DevStack with:
k@ubuntu:~$ sudo adduser stack
Since this user will be making many changes to our system, it should have sudo privileges:
k@ubuntu:~$ echo "stack ALL=(ALL) NOPASSWD: ALL" |sudo tee -a /etc/sudoers
k@ubuntu:~$ su stack
stack@ubuntu:/home/k$
stack@ubuntu:/home/k$ cd
stack@ubuntu:~$ pwd
/home/stack
stack@ubuntu:~$
The following devstack repo contains a script that installs OpenStack and templates for configuration files:
stack@ubuntu:~$ git clone https://git.openstack.org/openstack-dev/devstack
stack@ubuntu:~$ cd devstack
DevStack can be extensively configured via the configuration file local.conf. However, at this point, we may want to setup minimum required config to get started with DevStack. Let's create a local.conf file with 4 passwords preset at the root of the devstack git repo.
[[local|localrc]]
HOST_IP=127.0.0.1
GIT_BASE=http://git.openstack.org
ADMIN_PASSWORD=secret
DATABASE_PASSWORD=$ADMIN_PASSWORD
RABBIT_PASSWORD=$ADMIN_PASSWORD
SERVICE_PASSWORD=$ADMIN_PASSWORD
The install will take a 15 - 20 minutes, largely depending on the speed of internet connection. Many git trees and packages will be installed during this process:
stack@ubuntu:~/devstack$ ./stack.sh
If we do not have any error during the installation, we now have a working DevStack! Congrats!
Our devstack will have installed keystone, glance, nova, cinder, neutron, and horizon.
Floating IPs will be available, guests have access to the external world.
We can access horizon to experience the web interface to OpenStack, and manage vms, networks, volumes, and images from there.
We can source openrc in our shell, and then use the openstack command line tool to manage our devstack.
We can cd /opt/stack/tempest and run tempest tests that have been configured to work with our devstack:
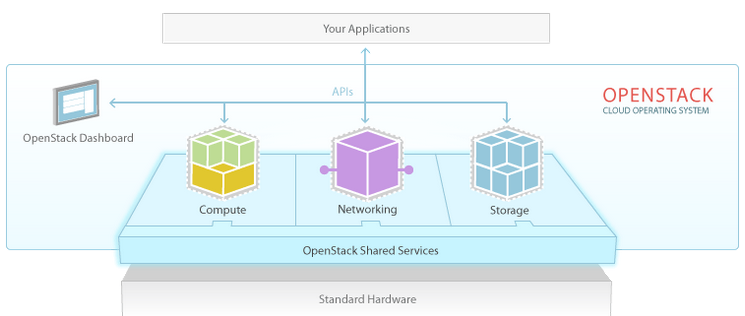
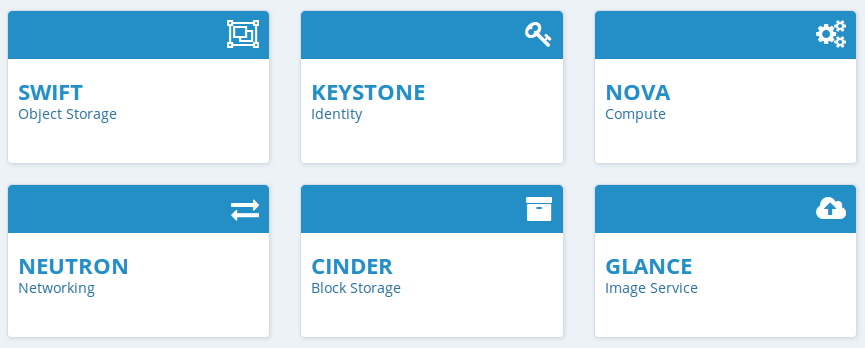
Core services:
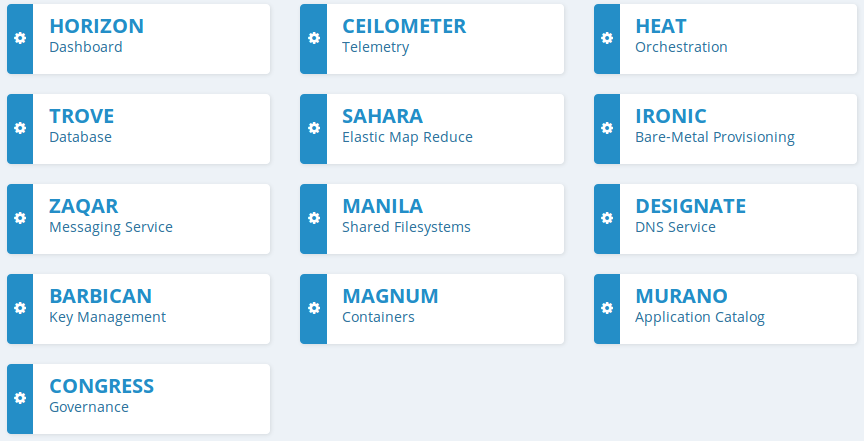
Optional services:
Ph.D. / Golden Gate Ave, San Francisco / Seoul National Univ / Carnegie Mellon / UC Berkeley / DevOps / Deep Learning / Visualization