PHP Tutorial Laravel 4 Framework Install on Windows

Laravel 4
- Installing on Ubuntu - local
- Installing on a Shared host
- Installing on Windows
- Creating users table
- Home page with controller and blade
- Blade Templating
- Database connection and sending emails
- Creating user account I - GET
- Creating user account II - POST
- Creating user account III - Error checking & redirecting input
- Creating user account IV - User::create()
- Activating user account I - Mail::send()
- Activating user account II - Update user's status
- User account sign-in I - Route and link
- User account sign-in II - Validation
- User account sign-in III - Login Authentication
- Singing out
- Remember the user
- Changing Password I
- Changing Password II
- Recovering forgotten password I
- Recovering forgotten password II
- User Profile
- Database Migration using artisan
This tutorial is the first chapter to show how to make auth application with Laravel. In this chapter, we'll install Laravel 4 under C:\Apache2\htdocs. We will add some additional directories: C:\Apache2\htdocs\bogotobogo\Laravel\auth:
The laravel requires php5.3.7+. So, we need to check, php -v:
PHP 5.4.27 (cli) (built: Apr  3 2014 00:56:21)
Copyright (c) 1997-2014 The PHP Group
Zend Engine v2.4.0, Copyright (c) 1998-2014 Zend Technologies
It looks OK.
We need to download Laravel from: https://github.com/laravel/laravel/archive/master.zip.
Extract Laravel into the C:\Apache2\htdocs\ which is a DocumentRoot:
Download Composer from: https://getcomposer.org/Composer-Setup.exe.
Enable openssl from all php.ini
;extension=php_openssl.dll =>
extension=php_openssl.dll
Install Composer into the directory where php.exe is located, C:\php
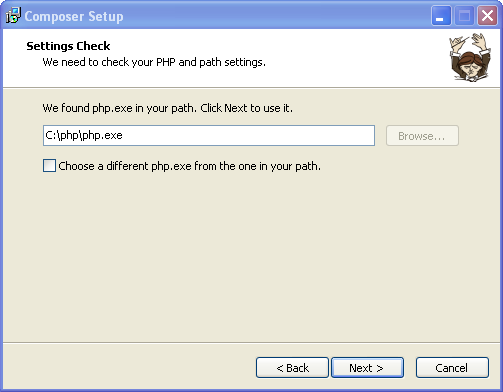
The following PHP Extensions in C:\php\ext should be enabled: php_curl and php_socket.
Edit C:\php\php.ini file:
extension=php_curl.dll
extension=php_sockets.dll
Now, run the composer install command in the root of our manually created project directory (where we extracted Laravel). So, on cmd prompt:
C:\Apache2\htdocs\bogotobogo\Laravel\auth>cd ..
C:\Apache2\htdocs\bogotobogo\Laravel>composer create-project laravel/laravel auth --prefer-dist
Here are the directory and file structure under htdocs dir:
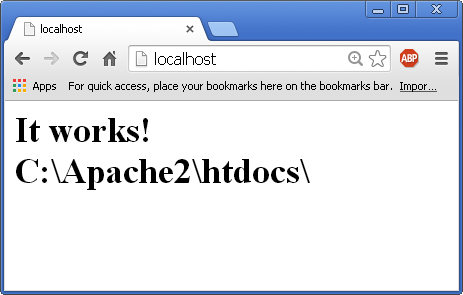
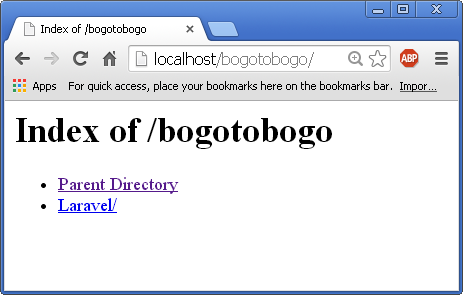
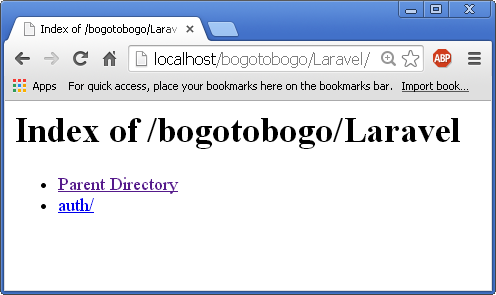
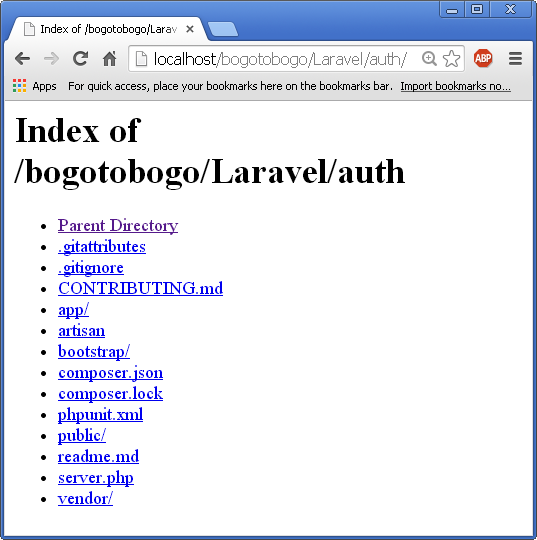
Let's see how the browser will do when we type in
http://localhost/bogotobogo/Laravel/auth/public/:
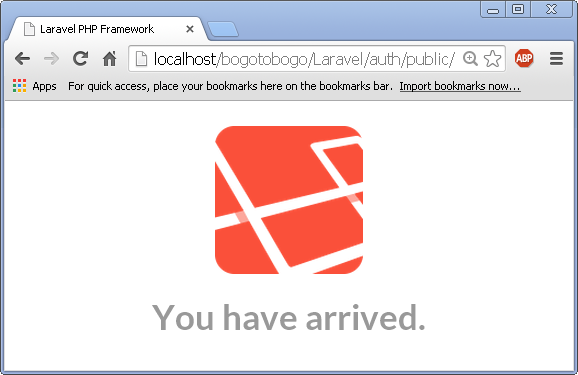
OK, that's it!
We need phpMyAdmin as well.
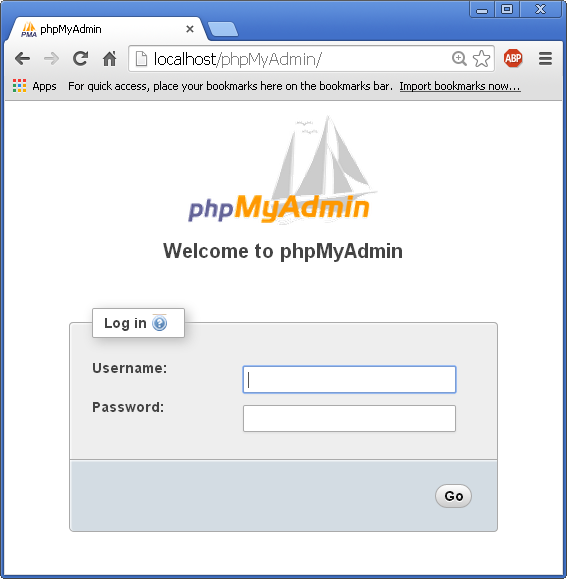
If we want to bypass the login session and directly go into the phpMyAdmin, we need to rename config.sample.inc.php to
/*
 * Servers configuration
 */
$i = 0;

/*
 * First server
 */
$i++;
/* Authentication type */

$cfg['Servers'][$i]['user'] = 'root';
$cfg['Servers'][$i]['password'] = 'root_password';
$cfg['Servers'][$i]['auth_type'] = 'config';
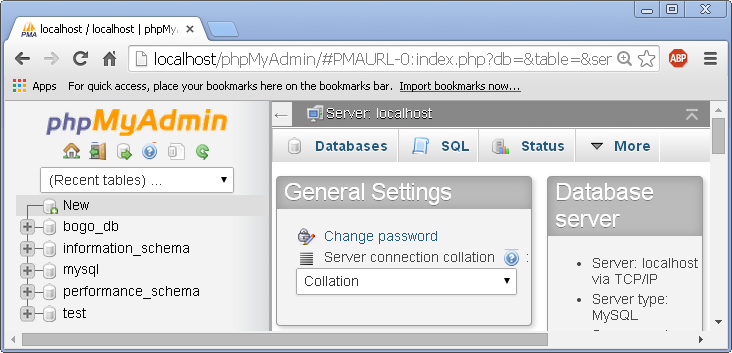
Now, if we type in localhost/phpMyAdmin, we get this:
Laravel 4
- Installing on Ubuntu - local
- Installing on a Shared host
- Installing on Windows
- Creating users table
- Home page with controller and blade
- Blade Templating
- Database connection and sending emails
- Creating user account I - GET
- Creating user account II - POST
- Creating user account III - Error checking & redirecting input
- Creating user account IV - User::create()
- Activating user account I - Mail::send()
- Activating user account II - Update user's status
- User account sign-in I - Route and link
- User account sign-in II - Validation
- User account sign-in III - Login Authentication
- Singing out
- Remember the user
- Changing Password I
- Changing Password II
- Recovering forgotten password I
- Recovering forgotten password II
- User Profile
- Database Migration using artisan
Ph.D. / Golden Gate Ave, San Francisco / Seoul National Univ / Carnegie Mellon / UC Berkeley / DevOps / Deep Learning / Visualization