Redmine Install on a Shared Host 2020
In this chapter, we'll install redmine on a shared host. It is a free and open source, web-based project management and bug-tracking tool.

We're going to create the environment in which our rails application will live. From the Ruby on Rails control panel, users will be able to create an application environment.
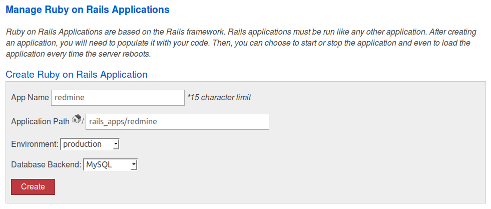
Click Create.
Then, it will create a directory at /home/[username]/rails_apps/[app name].
Go to http://www.redmine.org/projects/redmine/wiki/Download to download Redmine.
Upload the application file (redmine-2.4.5.tar.gz) to ~/rails_apps directory and extract.
Delete the redmine directory in its entirety, and then rename the directory to redmine. In other words, we're replacing the default cPanel redmine directory with our downloaded one.
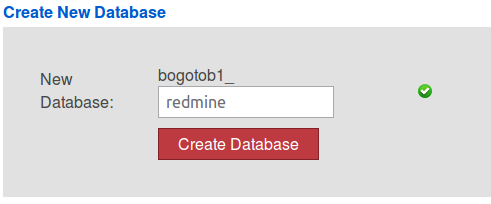
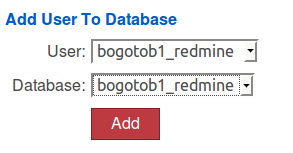
Create Database (username_redmine) and user (username_redmine).
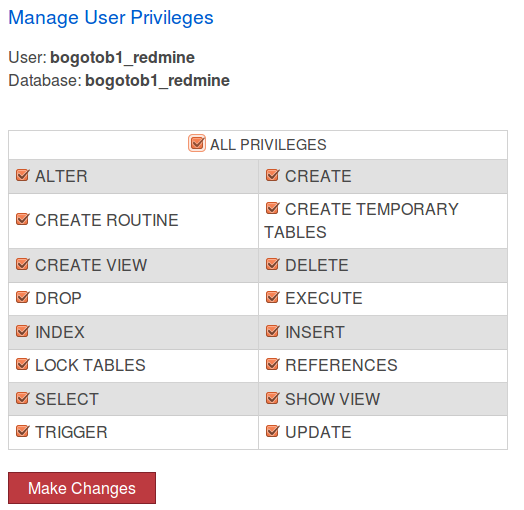
Allow the user All Privileges.
First, we need to connect to our account via SSH.
Change directories to our rails_apps/redmine directory:
cd rails_apps/redmine
Copy config/database.yml.example to config/database.yml and edit this file in order to configure our database settings for "production" environment:
cp config/database.yml.example config/database.yml
Edit the file to add our MySQL credentials we created in step for DB:
production:
  adapter: mysql2
  database: bogotob1_redmine
  host: localhost
  username: bogotob1_redmine
  password: my_password
  encoding: utf8
Then, execute the following command:
bundle install
rake generate_secret_token
To create tables and an administrator account:
RAILS_ENV=production rake db:migrate
Insert default configuration data in database, by running the following command:
RAILS_ENV=production rake redmine:load_default_data
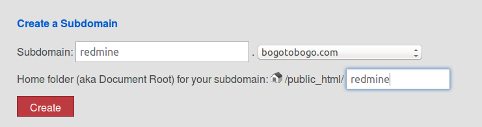
We need to setup sub-domain:
Now we need to delete the redmine folder, we can delete this from within the ~/public_html directory:
rm -rf redmine
Creating the symlink:
ln -s ~/rails_app/redmine/public redmine
Edit ~/rails_apps/redmine/public/.htaccess:
Options -Multiviews
PassengerResolveSymlinksInDocumentRoot on
RailsEnv production
SetEnv GEM_HOME /home2/bogotob1/ruby/gems
RewriteRule ^(.*)$ "http://127.0.0.1:12001%{REQUEST_URI}" [P,QSA,L]
Home:
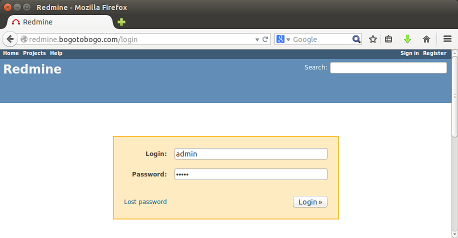
Sign-in:
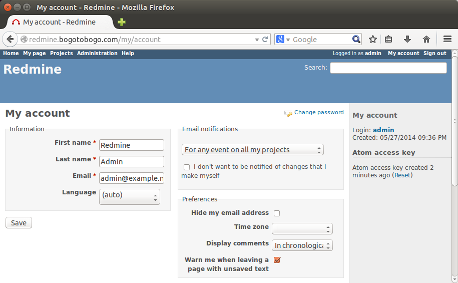
Admin Account:
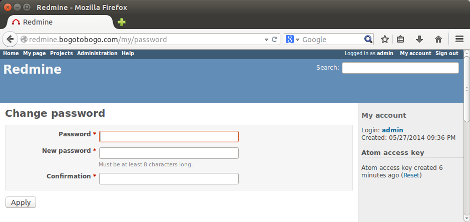
Change password:
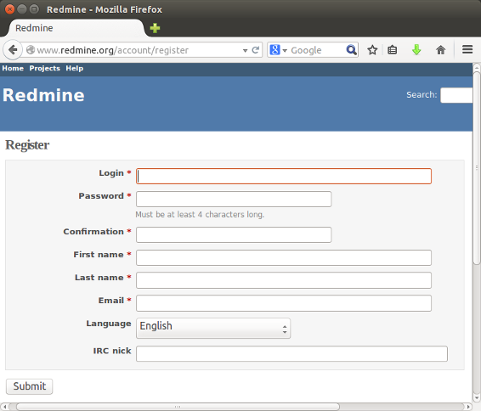
User Register:
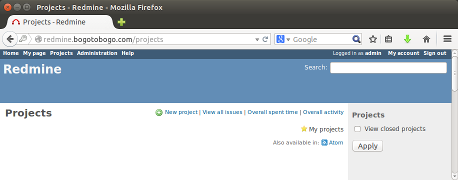
Project:
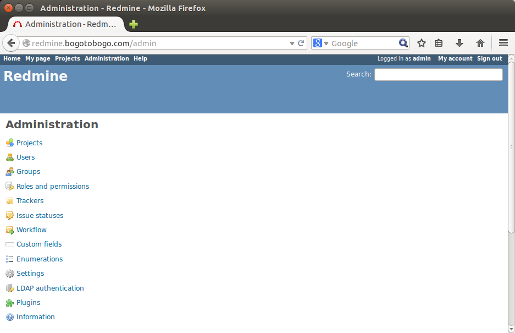
Administration:
Ph.D. / Golden Gate Ave, San Francisco / Seoul National Univ / Carnegie Mellon / UC Berkeley / DevOps / Deep Learning / Visualization