PHP Tutorial Laravel 4 Framework (Authentication) - User Account Signin II (Validation)

Laravel 4
- Installing on Ubuntu - local
- Installing on a Shared host
- Installing on Windows
- Creating users table
- Home page with controller and blade
- Blade Templating
- Database connection and sending emails
- Creating user account I - GET
- Creating user account II - POST
- Creating user account III - Error checking & redirecting input
- Creating user account IV - User::create()
- Activating user account I - Mail::send()
- Activating user account II - Update user's status
- User account sign-in I - Route and link
- User account sign-in II - Validation
- User account sign-in III - Login Authentication
- Singing out
- Remember the user
- Changing Password I
- Changing Password II
- Recovering forgotten password I
- Recovering forgotten password II
- User Profile
- Database Migration using artisan
This tutorial is the continuation from User account sign-in I - Route and link.
Now we have the link to the sign-in page. But we need to present the sign-in form to the user and process when it's submitted.
In this section, we'll build the sign-in form. So, let's work on our blade template:
signin.blade.php file:
@extends('layout.main')

@section('content')

	<form action="{{ URL::route('account-sign-in-post') }}" method="post">

		<input type="submit" value="Sign in">
			{{ Form::token() }}

	</form>
@stop
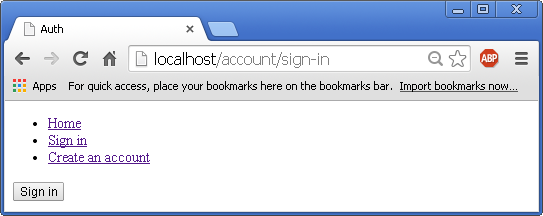
Let's test how the code handles submit with the following testing print out:
class AccountController extends BaseController {
        ...
	public function postSignIn() {
		return "Just to check post sign-in";
	}
        ...
When we click the sign-in button we've just made, we get:
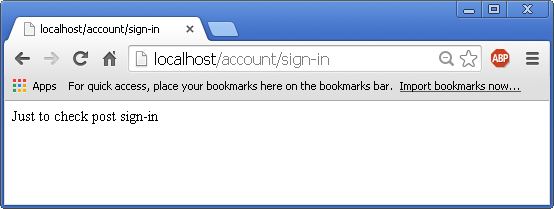
It seems to be working. Now, we need to complete the form that the user can play with.
Again, signin.blade.php view file:
@extends('layout.main')

@section('content')

	<form action="{{ URL::route('account-sign-in-post') }}" method="post">

		<div class="field">
			Email: <input type="text" name="email" >
		</div>

		<div class="field">
			Password: <input type="password" name="password" >
		</div>

		<input type="submit" value="Sign in">
			{{ Form::token() }}

	</form>
@stop
We've just added forms for Email and password.
Again, AccountController.php file:
class AccountController extends BaseController {
        ...
	public function postSignIn() {
		$validator = Validator::make(Input::all(),
			array(
				'email' 	=> 'required|email',
				'password'	=> 'required'
			)
		);
	}
        ...
Let's check we're on track.

Also, we want to have a code of validation as we've done for the account creation.
AccountController.php file:
class AccountController extends BaseController {
        ...
	/* After submitting the sign-in form */
	public function postSignIn() {
		$validator = Validator::make(Input::all(),
			array(
				'email' 	=> 'required|email',
				'password'	=> 'required'
			)
		);
		if($validator->fails()) {
			// Redirect to the sign in page
			return Redirect::route('account-sign-in')
				->withErrors($validator)
				->withInput();   // redirect the input
		} else {
			// Attempt user sign in
		}
	}
Again, signin.blade.php view file to handle the error output:
@extends('layout.main')

@section('content')

	<form action="{{ URL::route('account-sign-in-post') }}" method="post">

		<div class="field">
			Email: <input type="text" name="email" >
			@if($errors->has('email'))
				{{ $errors->first('email')}}
			@endif
		</div>

		<div class="field">
			Password: <input type="password" name="password" >
			@if($errors->has('password'))
				{{ $errors->first('password')}}
			@endif
		</div>

		<input type="submit" value="Sign in">
			{{ Form::token() }}

	</form>
@stop
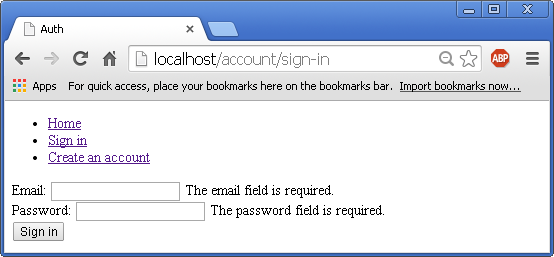
Let's test our work so far.
Without any input:
With wrong email format:
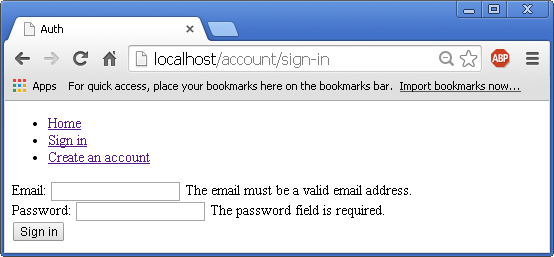
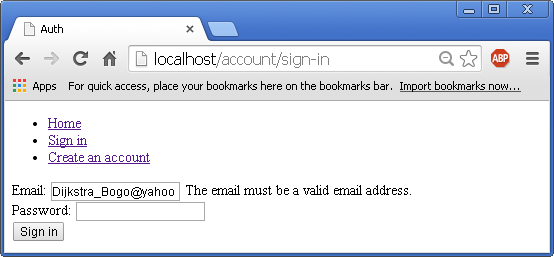
Note that the wrong email disappead but we want to stay there. So, as we've done for the account creation, we need to use old value:
<div class="field">
	Email: <input type="text" name="email" value="{{ Input::old('email') }}">
	@if($errors->has('email'))
		{{ $errors->first('email')}}
	@endif
</div>
Now, we can keep the old value when the email input is wrong:
Laravel 4
- Installing on Ubuntu - local
- Installing on a Shared host
- Installing on Windows
- Creating users table
- Home page with controller and blade
- Blade Templating
- Database connection and sending emails
- Creating user account I - GET
- Creating user account II - POST
- Creating user account III - Error checking & redirecting input
- Creating user account IV - User::create()
- Activating user account I - Mail::send()
- Activating user account II - Update user's status
- User account sign-in I - Route and link
- User account sign-in II - Validation
- User account sign-in III - Login Authentication
- Singing out
- Remember the user
- Changing Password I
- Changing Password II
- Recovering forgotten password I
- Recovering forgotten password II
- User Profile
- Database Migration using artisan
Ph.D. / Golden Gate Ave, San Francisco / Seoul National Univ / Carnegie Mellon / UC Berkeley / DevOps / Deep Learning / Visualization