Apache 2.4.7, PHP5.5 & MySQL5.5
- Installation B 2015

Installing AMP (Apache/MySQL/PHP) on Windows is not a difficult task, however, it is not that straight forward, either.
In my tutorial, I tried two different installations depending on the versions to install:
- Apache 2.2, PHP 5.4 - previous chapter
- Apache 2.4, PHP 5.5 - this chapter
After all the steps of this tutorial, we'll be able to host our web site on our PC running Windows 8.
We can display our php page by typing URL like http://www.mycompany.com/index.php or just localhost into the browser. Then, We are hosting our web site! We also will have an access to MySQL database.
-
- Since Apache 2.4.7 does not have installer, we'll use Apache 2.4 VC11 Binaries and Modules Win64 from Apache Lounge.
http://www.apachelounge.com/download/
- We can use this version as well
Apache Http Server 2.2.25
(Win32 Binary without crypto (no mod_ssl)
(MSI Installer): httpd-2.2.25-win32-x86-no_ssl.msi
- Since Apache 2.4.7 does not have installer, we'll use Apache 2.4 VC11 Binaries and Modules Win64 from Apache Lounge.
- PHP http://windows.php.net/download/
VC11 x86 Thread Safe (2013-Nov-13 20:57:44): php-5.5.6-Win32-VC11-x86.zip -
MySQL 5.5
Windows (x86, 32-bit), MSI Installer (mysql-5.5.35-win32.msi)
- Download the package, "Apache 2.4.7 Win32"
from http://www.apachelounge.com/download/.

We also need to install Visual C++ Redistributable for Visual Studio 2012 Update 4.
- Extract the package and put it into C:\Apache24.
- Open up httpd.conf.
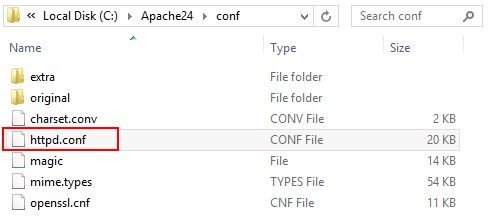
Add the following lines at the end of "LoadModule" section:
LoadModule php5_module "c:/php/php5apache2_4.dll"
AddHandler application/x-httpd-php .php
If we want "index.php" to override "index.html", we need to add the "index.php" as shown below:
<IfModule dir_module>
    DirectoryIndex index.php index.html
</IfModule>
Then, go to the bottom of the file, add the PHPIniDir.
PHPIniDir C:/php
Save the file.
- Install Apache service:
Type a command: "httpd -k install" after opening a command prompt as an Administrator:
C:\Apache24\bin>httpd -k install
Installing the Apache2.4 service
The Apache2.4 service is successfully installed.
Testing httpd.conf....
Errors reported here must be corrected before the service can be started.
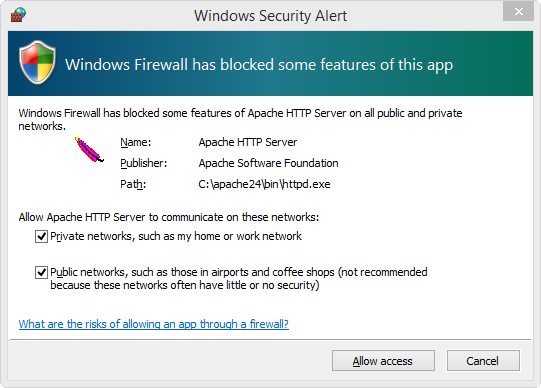
Then, a window like this will pop up:
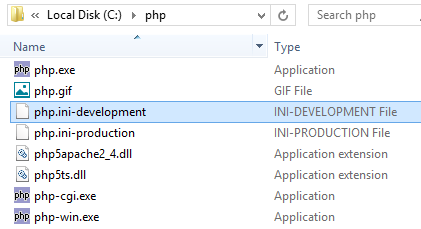
- Now, we need to setup php.ini:
- Running the Apache:
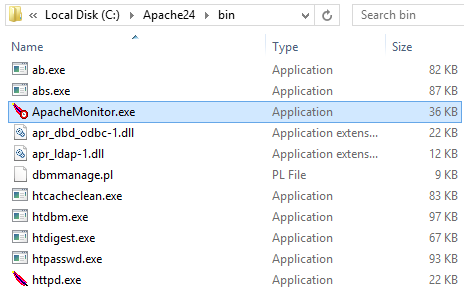
Launch the "ApacheMonitor.exe", then we'll see the Apache icon:

Now, we can start Apache service:
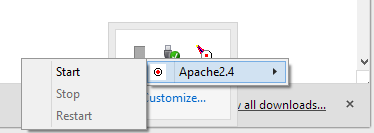
We can see it's been started and running.

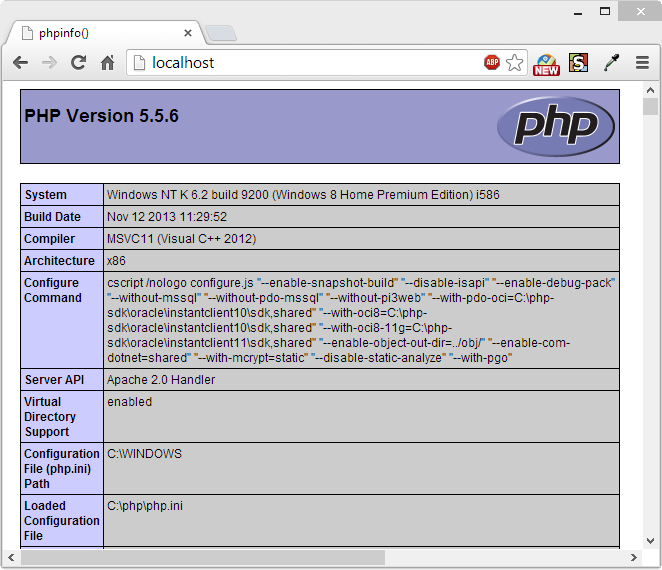
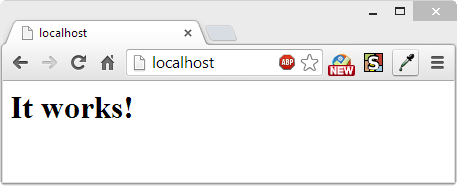
- Type in localhost into the url box of the browser:
- Let's make a new file, index.php in C:\Apache24\htdocs:

Then, add the following line:
<?php phpinfo(); ?>
If we type in localhost again, the browser will render index.php instead of index.html since we gave higher priority to index.php.
Hit "Allow access" and then close the prompt window.
Rename "pnp.ini-development" as "php.ini"
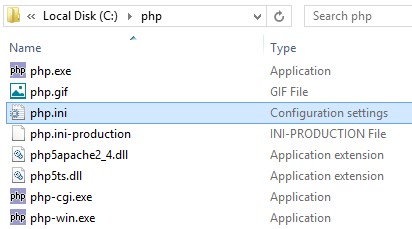
Now, we want to edit the php.ini file.
Find a "extension_dir" and edit the line:
extension_dir = "C:/php/ext"
The extension_dir becomes important when we use MySQL.
Then, do the other lines as shown below:
extension=php_mysql.dll
extension=php_mysqli.dll
extension=php_curl.dll
extension=php_fileinfo.dll
extension=php_gd2.dll
extension=php_pdo_mysql.dll
extension=php_pdo_sqlite.dll
For the "data.timezone", we need to find the proper zone from
http://www.php.net/manual/en/timezones.america.php.
date.timezone = America/Tijuana
Then, save the "php.ini" file.
- Download the MySQL Community Edition setup installer (mysql-5.5.35-win32.msi) from Download MySQL Community Server.
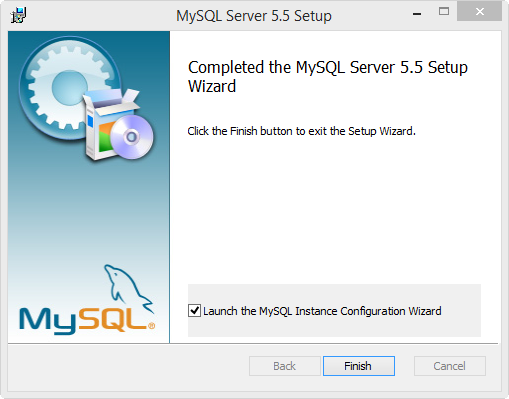
- Run the downloaded installer to launch the MySQL Server Setup Wizard in Typical Configuration. We need to check "Launch the MySQL Instance Configuration Wizard"
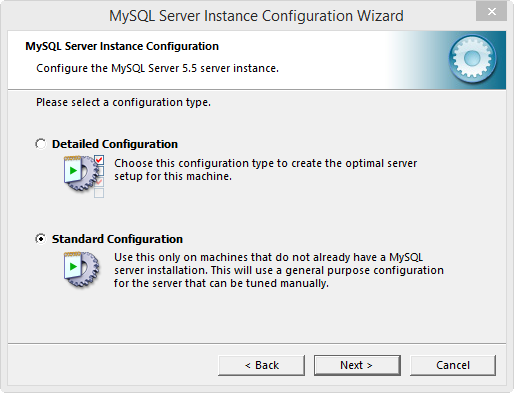
- Choose the Standard Configuration.
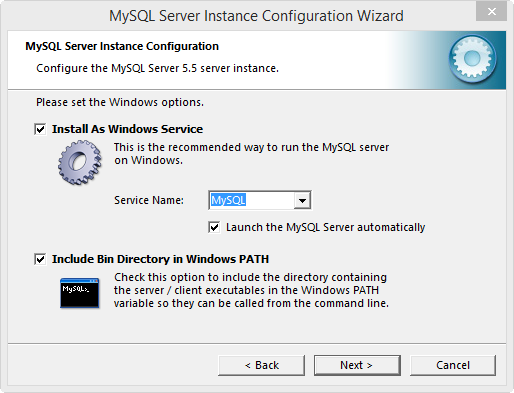
- Choose to Install As Windows Service:
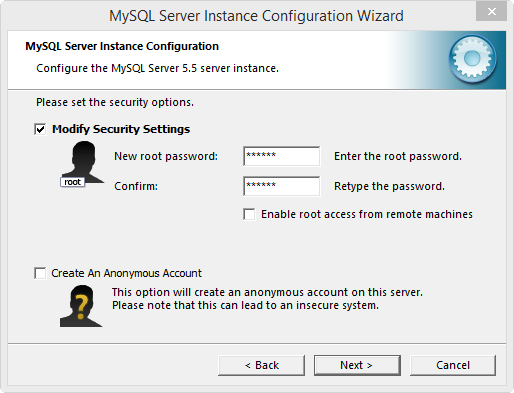
- Enter a root user password:
- Click the Execute button to complete configuration of the MySQL Server instance, and then hit Finish:
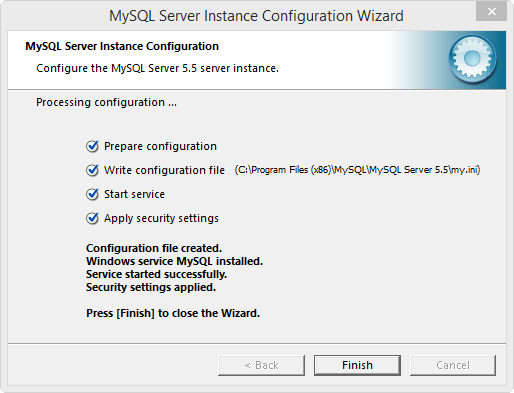
- Here is the MySQL Command Line Client:
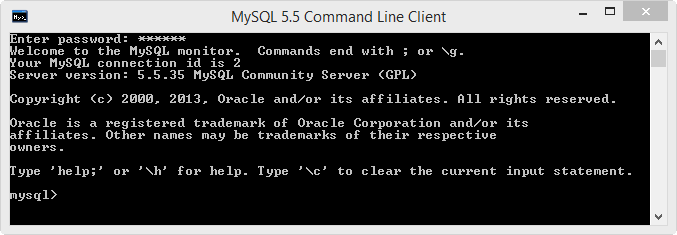
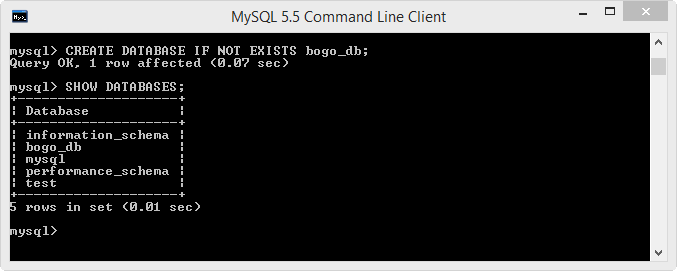
- Let's create our first database and see if it's successful:
- Then, make a simple php script to check if php can communicate with MySQL:
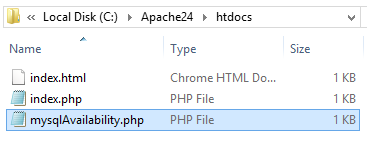
The script looks like this:<html> <head><title>MyQSL, talk to me.</title></head> <body> <h2> <?php $connection = mysqli_connect("localhost", "root", "root_password", "bogo_db") or die (mysqli_connect_error()); echo ("Congratulations, MySQL started talking to us!"); ?> </h2> </body> </html> - Then, type in http://localhost/mysqlAvailability.php into the url of the browser.
- We may get an error like this:
Fatal error: Call to undefined function mysqli_connect() in C:\Apache24\htdocs\mysqlAvailability.php on line 7
If that's the case, look for php.ini file, and check if the extension_dir is set correctly. It should be "C:\php\ext" - If everything is working fine, then we get this:

Congratulations!
Now, We've got all three, Apache, PHP, and MySQL! - At this point, if we type in just localhost, we see both mysql and mysqli:
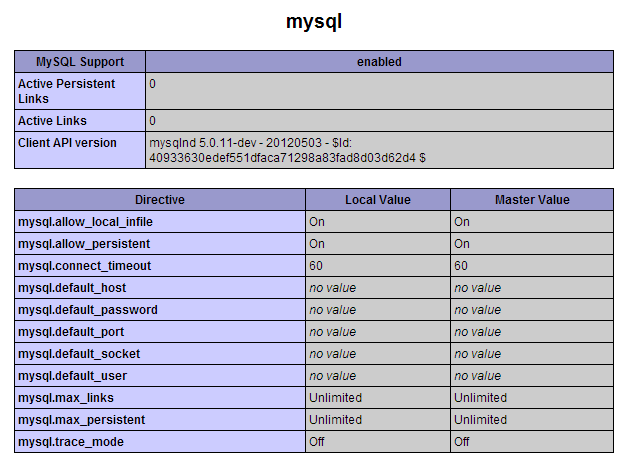
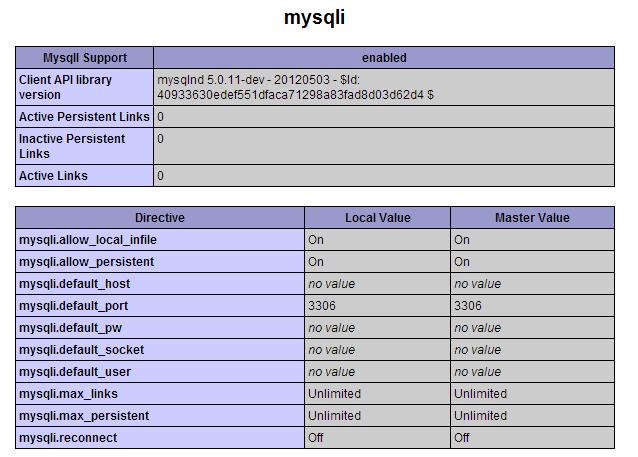
If we have the error on Ubuntu 14.04:
ERROR 1045 (28000): Access denied for user 'root'@'localhost' (using password: NO)
while we're trying to access mysql:
$ mysql -u root
To fix the issue, try this:
$ mysql --version
mysql  Ver 14.14 Distrib 5.5.40, for debian-linux-gnu (x86_64) using readline 6.3

$ sudo dpkg-reconfigure mysql-server-5.5

mysql stop/waiting
...
mysql start/running, process 31458
Then, we'll have a chance to set the password:
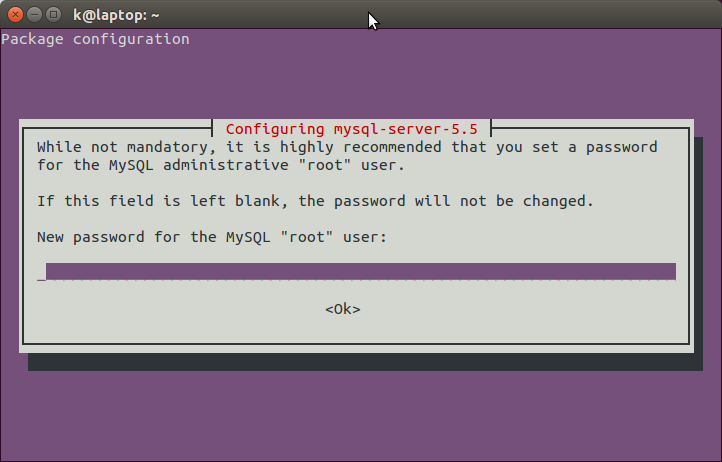
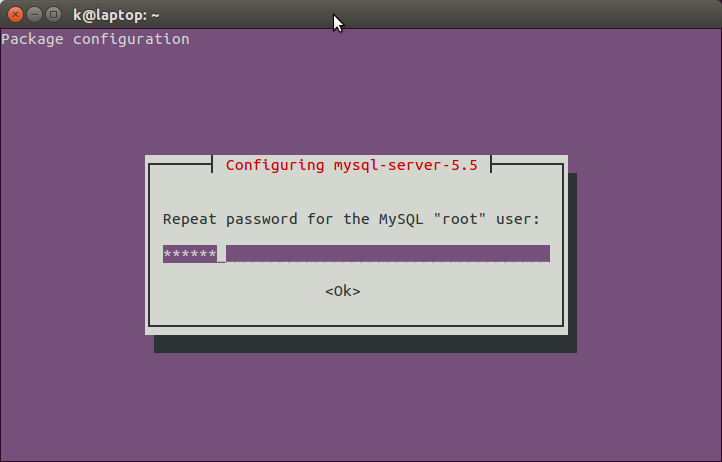
Now, we can try again:
$ mysql -u root -p
Enter password:
Welcome to the MySQL monitor.  Commands end with ; or \g.
Your MySQL connection id is 48
Server version: 5.5.40-0ubuntu0.14.04.1 (Ubuntu)

Copyright (c) 2000, 2014, Oracle and/or its affiliates. All rights reserved.

Oracle is a registered trademark of Oracle Corporation and/or its
affiliates. Other names may be trademarks of their respective
owners.

Type 'help;' or '\h' for help. Type '\c' to clear the current input statement.

mysql>
Ph.D. / Golden Gate Ave, San Francisco / Seoul National Univ / Carnegie Mellon / UC Berkeley / DevOps / Deep Learning / Visualization


