Flask blog app with MongoDB : Part 1 (Local Flask server)

Ensure that MongoDB >= 2.2 are installed. We can check the installed version:
$ mongod --version
db version v3.0.6
Clone the project:
$ git clone https://github.com/dmaslov/flask-blog.git Blog && cd Blog
Let's setup virtualenv:
$ virtualenv venv
$ source venv/bin/activate
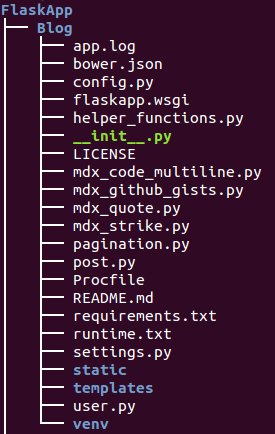
Install the requirements using requirements.txt:
(venv)$ pip install -r requirements.txt
...
Successfully installed flask flask-markdown pymongo gunicorn Werkzeug Jinja2 itsdangerous markdown MarkupSafe
Edit the config.py file:
- Replace the CONNECTION_STRING variable with a proper connection string.
- Replace the DATABASE variable if needed.
- Replace the POSTS_COLLECTION, USERS_COLLECTION and USERS_COLLECTION variables to any names if needed.
- For a production sever replace the DEBUG variable with False.
Ensure that mongoDB is running:
(venv)$ ps -ef|grep mongodb |grep -v grep
mongodb   1159     1  0 May01 ?        00:17:12 /usr/bin/mongod --config /etc/mongodb.conf
In the project directory with activated environment, just type python web.py:
(venv3)$ python web.py
 * Running on http://0.0.0.0:8000/ (Press CTRL+C to quit)
 * Restarting with stat
 * Debugger is active!
 * Debugger pin code: 245-856-357
Before running the server, we may need to adjust the port number in web.py:
if __name__ == '__main__':
    app.run(host="0.0.0.0", port=int(os.environ.get("PORT", 8000)),
            debug=app.config['DEBUG'])
Now, we should be able to see the First Page at http://localhost:8000:
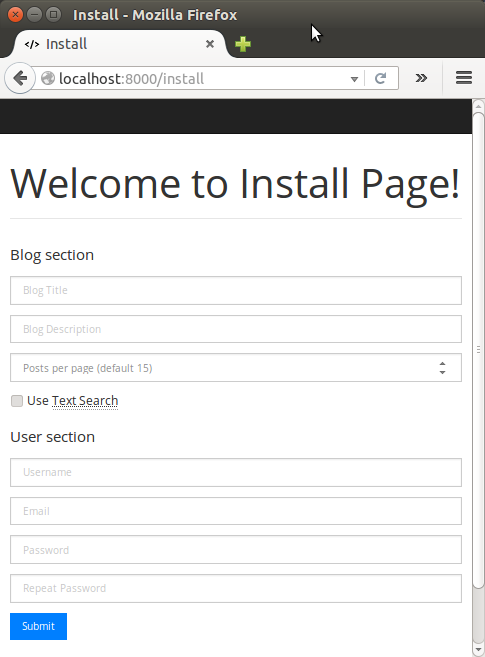
As shown in the previous section, when we run the application for the first time, the "Install" page appears.
We may want to create a user profile and set some display settings on the page.
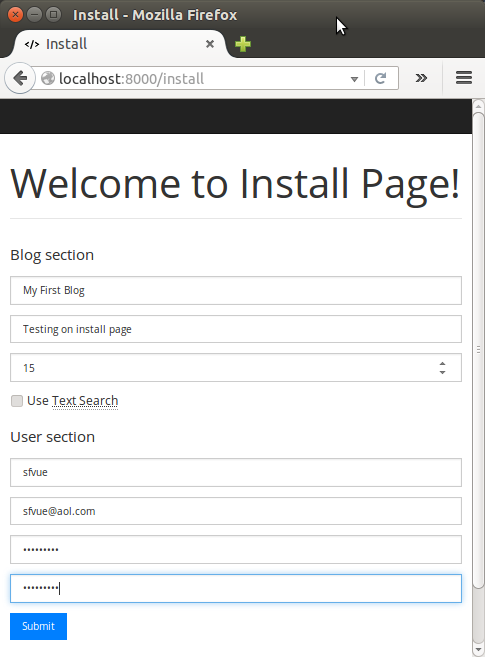
All necessary MongoDB indexes will be created during the installation. A test text post will be created as well.
Hit "Submit":
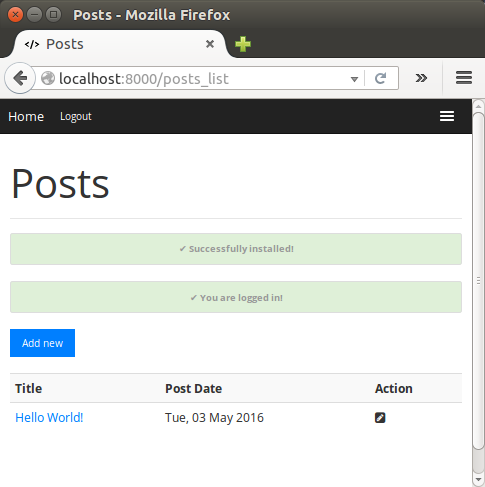
There should be at least one post and one user for the database to be installed. That is why it's impossible to delete the last post or user.
If we want to start from scratch, we need to remove all the existing collections from our database and delete the browser session cookie. Then, the Install page will show up again.
Here is the Home page:
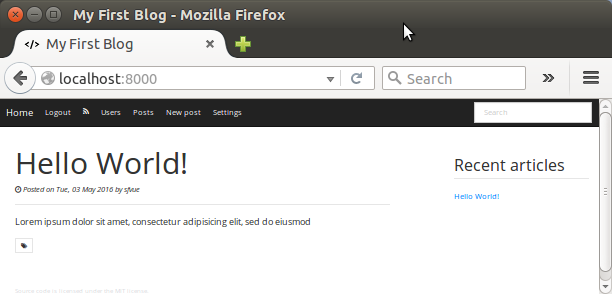
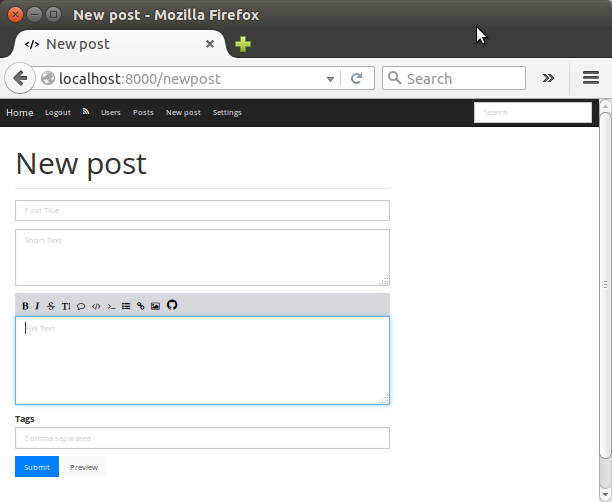
As we can see from the picture below, when we post a new one, we can utilize the WYSIWYG editor:
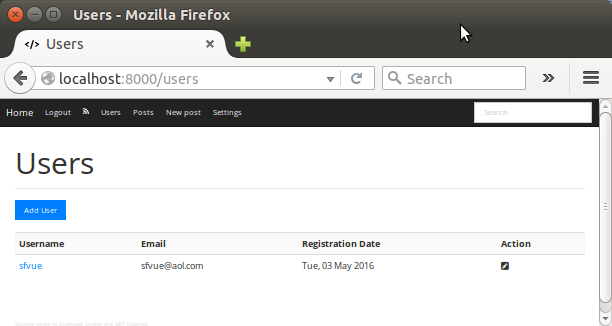
Users page:
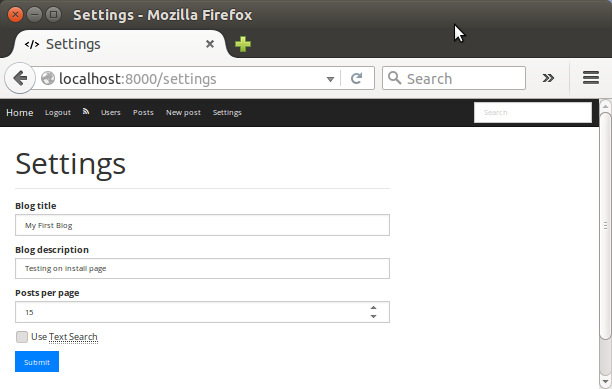
Lastly, Settings page:
We've just run our app via built-in Flask WSGI server.
Now, we want to run it on local Apache server using WSGI module.
Please visit Flask blog app with MongoDB via Apache WSGI on Ubuntu 14
Ph.D. / Golden Gate Ave, San Francisco / Seoul National Univ / Carnegie Mellon / UC Berkeley / DevOps / Deep Learning / Visualization