20. Django 1.8 Server Build - CentOS 7 hosted on VPS - User Authentication 7 (Twitter login)

In this tutorial, to the page shown above, we'll make a user to be able to login via Twitter.
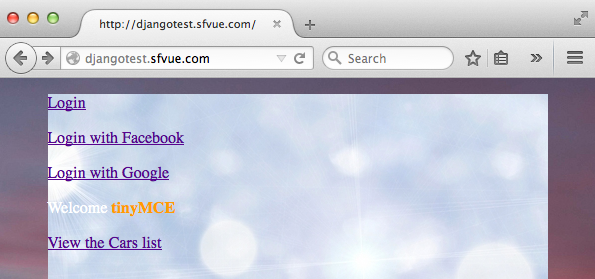
Currently, we have the following login page we've made: regular login and Facebook/Google logins:

We need to install python-social-auth:
$ sudo pip install python-social-auth
...
Successfully installed python-social-auth oauthlib requests requests-oauthlib PyJWT six
It will be installed in /usr/lib/python2.7/site-packages/.
We need to update settings.py to include/register the library in our project.
Add the application to INSTALLED_APPS setting, for default Django ORM:
INSTALLED_APPS = (
    'django.contrib.auth',
    'django.contrib.contenttypes',
    'django.contrib.sessions',
    'django.contrib.messages',
    'django.contrib.staticfiles',
    'car',
    'tinymce',
    'pages',
    'driver',
    'django.contrib.admin',
    'social.apps.django_app.default',
)
There's a context processor that will add backends and associations data to template context. Add desired authentication backends to Django's AUTHENTICATION_BACKENDS setting:
TEMPLATE_CONTEXT_PROCESSORS = (
     ...
    'social.apps.django_app.context_processors.backends',
    'social.apps.django_app.context_processors.login_redirect',
)
backends context processor will load a backends key in the context with three entries on it:
- associated It's a list of UserSocialAuth instances related with the currently logged in user. Will be empty if there's no current user.
- not_associated A list of available backend names not associated with the current user yet. If there's no user logged in, it will be a list of all available backends.
- backends A list of all available backend names.
Add desired authentication backends to Django's AUTHENTICATION_BACKENDS setting:
AUTHENTICATION_BACKENDS = (
    'social.backends.facebook.FacebookOAuth2',
    'social.backends.google.GoogleOAuth2',
    'social.backends.twitter.TwitterOAuth',
    'django.contrib.auth.backends.ModelBackend',
)
Take into account that backends must be defined in AUTHENTICATION_BACKENDS or Django won't pick them when trying to authenticate the user.
We shouldn't miss django.contrib.auth.backends.ModelBackend if we use django.contrib.auth application or users won't be able to login by username / password method.
Since we registered the library in our project, let's update the database:
$ python manage.py makemigrations
Migrations for 'driver':
  0002_auto_20150712_1815.py:
    - Alter field user on driver

$ python manage.py migrate
Operations to perform:
  Synchronize unmigrated apps: staticfiles, car, tinymce, messages, pages
  Apply all migrations: sessions, admin, driver, auth, default, contenttypes
Synchronizing apps without migrations:
  Creating tables...
    Running deferred SQL...
  Installing custom SQL...
Running migrations:
  Rendering model states... DONE
  Applying default.0001_initial... OK
  Applying default.0002_add_related_name... OK
  Applying default.0003_alter_email_max_length... OK
  Applying driver.0002_auto_20150712_1815... OK
Update the Project's urlpatterns in urls.py to include the main auth URLs:
from django.conf.urls import include, url
from django.contrib import admin
from django.conf import settings

urlpatterns = [
   url(r'^admin/', include(admin.site.urls)),
   url(r'^tinymce/', include('tinymce.urls')),
   url(r'^$', 'pages.views.MainHomePage'),
   url(r'^cars/$', 'car.views.CarsAll'),
   url(r'^cars/(?P<carslug>.*)/$', 'car.views.SpecificCar'),
   url(r'^makes/(?P<makeslug>.*)/$', 'car.views.SpecificMake'),
   url(r'^media/(?P<path>.*)$', 'django.views.static.serve', {
            'document_root': settings.MEDIA_ROOT,
   }),
   url(r'^register/$', 'driver.views.DriverRegistration'),
   url(r'^login/$', 'driver.views.LoginRequest'),
   url(r'^logout/$', 'driver.views.LogoutRequest'),
   url(r'^resetpassword/passwordsent/$', 'django.contrib.auth.views.password_reset_done'),
   url(r'^resetpassword/$', 'django.contrib.auth.views.password_reset',
       {'post_reset_redirect' : 'django.contrib.auth.views.password_reset_done'},
        name="password_reset"),
   url(r'^reset/(?P<uidb64>[0-9A-Za-z]+)/(?P<token>.+)/$', 'django.contrib.auth.views.password_reset_confirm', name='password_reset_confirm'),
   url(r'^reset/done/$', 'django.contrib.auth.views.password_reset_complete', name='password_reset_complete'),
   url(r'^profile/$', 'driver.views.Profile'),
   url('', include('social.apps.django_app.urls', namespace='social')),
]
Start from https://dev.twitter.com/web/sign-in.
A new visitor to our site only has to click two buttons in order to sign in for the first time. The Sign in with Twitter flow can grant authorization to use Twitter APIs on our users behalf. It is OAuth based: a wealth of client libraries and example code are compatible with Sign in with Twitterâs API.
To learn about the browser sign in flow for Desktop, go to Learn about the browser sign in flow..
Twitter keeps track of the authorizations, so for users already signed in to twitter.com who have authorized the application, no UI is shown - instead, they are automatically redirected back to the application.
For more about implementation, please visit Implementing Sign in with Twitter Overview.
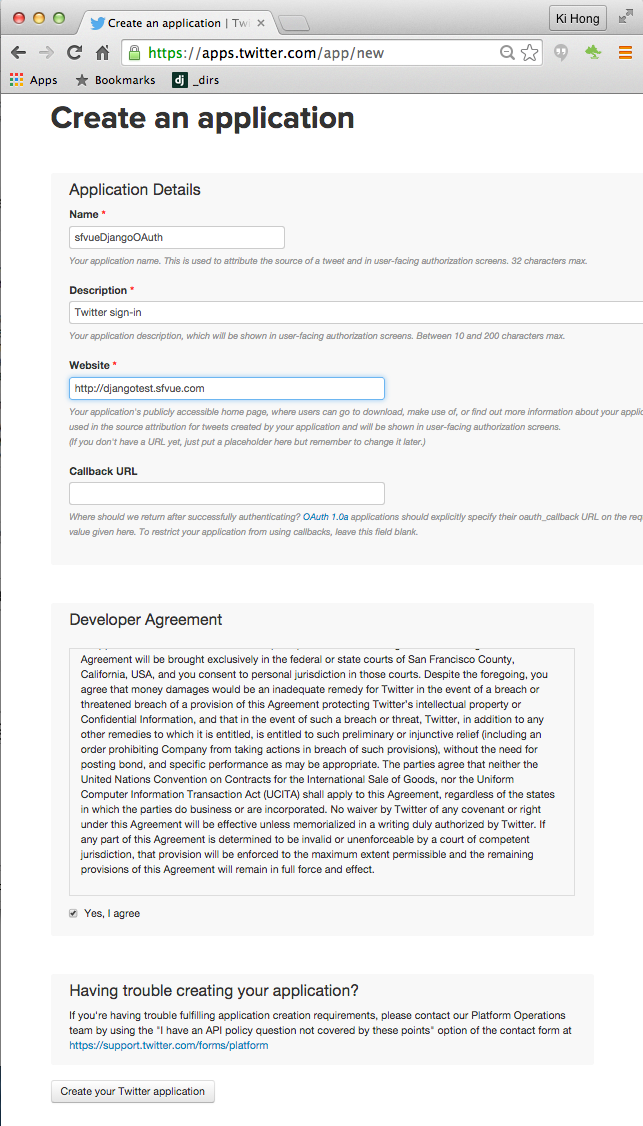
- Create a new application at https://apps.twitter.com/app/new.
- Click "Create your Twitter application"
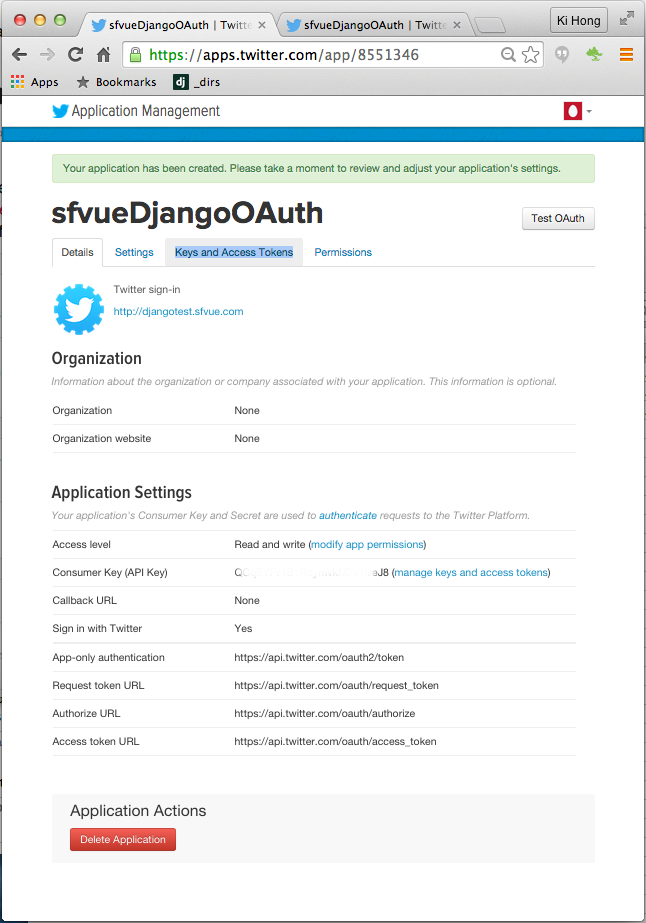
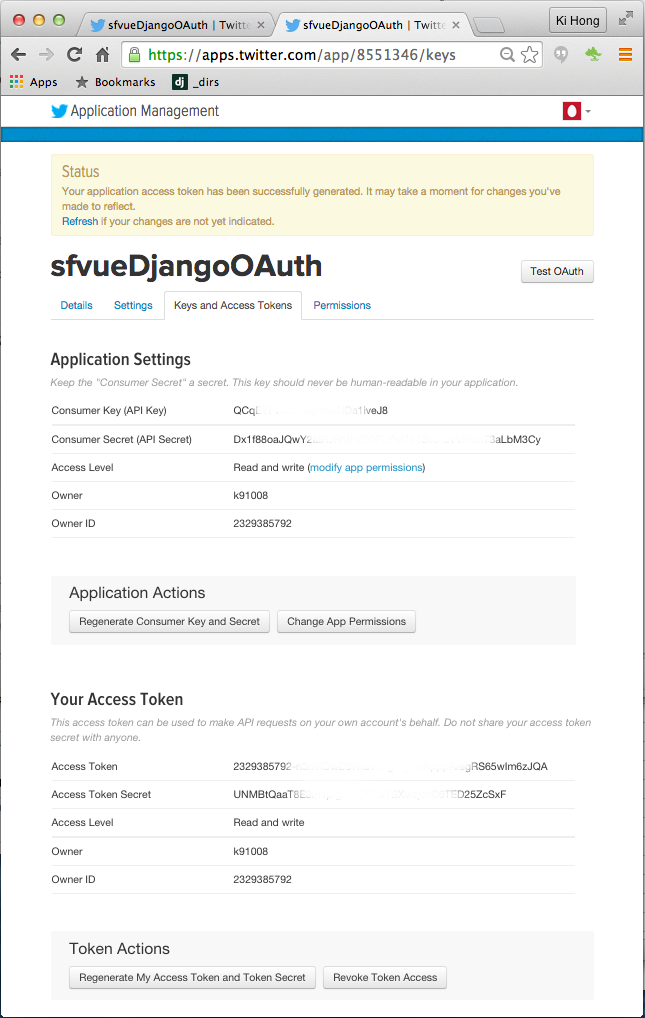
- Grab the Consumer Key (API Key) and the Consumer Secret (API Secret) from Twitter under the Keys and Access Tokens tab and add them to the config file.
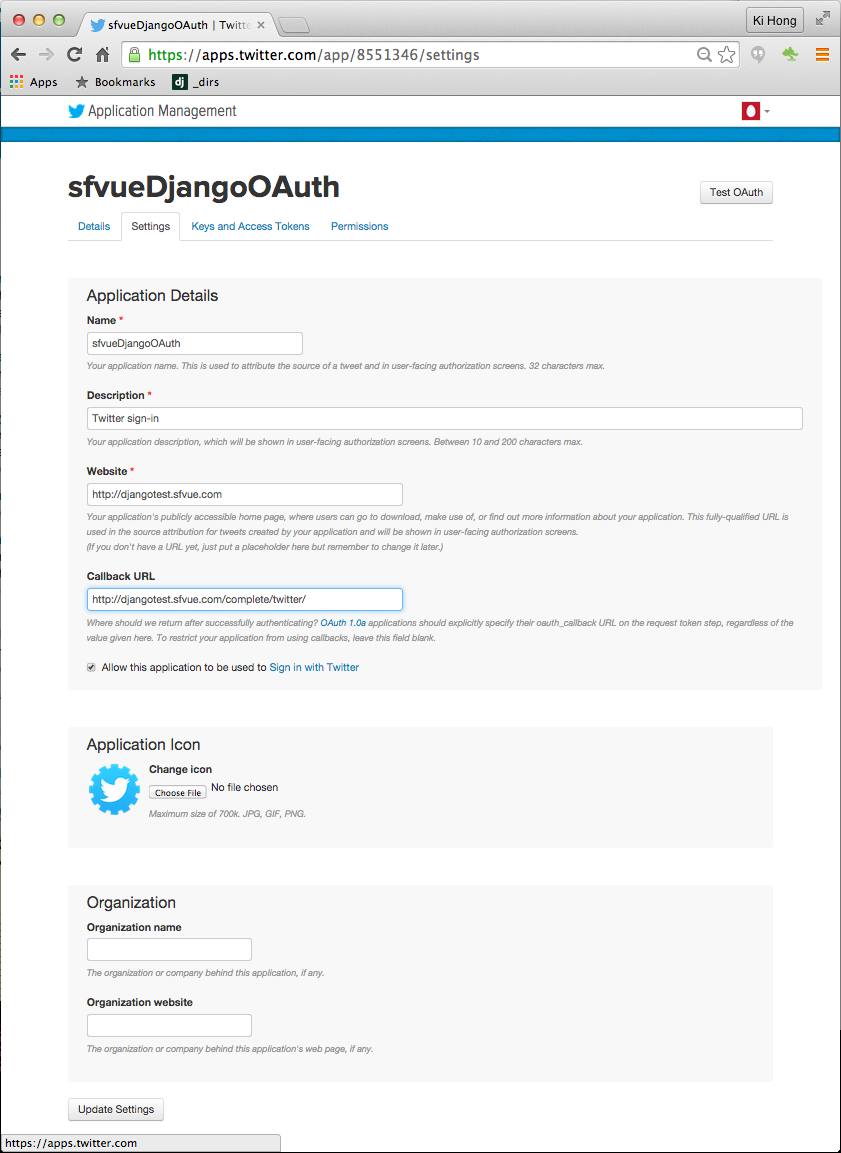
- In the process of getting credentials, I missed "Callback URL". But we can put that in using "Settings":
- Copy the Consumer Key and Consumer Secret, and place them into Django's settings.py file:
SOCIAL_AUTH_TWITTER_KEY = ''
SOCIAL_AUTH_TWITTER_SECRET = ''
<html>
<head>
    <link rel="stylesheet" type="text/css" href="/static/css/car.css" />
    {% block extrahead %}{% endblock %}
</head>
<body>
<div id="pageContainer">
    <div id="nav_top_right">
        {% if user.is_authenticated %}
                <p>Hello {{ user.get_full_name|default:user.username }}!</p>
                <p><a href="/logout/">Logout</a></p>
        {% else %}
                <p><a href="/login/">Login</a></p>
                <p><a href="{% url 'social:begin' 'facebook' %}?next={{ request.path }}">Login with Facebook</a></p>
                <p><a href="{% url 'social:begin' 'google-oauth2' %}?next={{ request.path }}">Login with Google</a></p>
                <p><a href="{% url 'social:begin' 'twitter' %}?next={{ request.path }}">Login with Twitter</a></p>
        {% endif %}
    </div>
    {% block content %}
    {% endblock %}
</div>
</body>
</html>
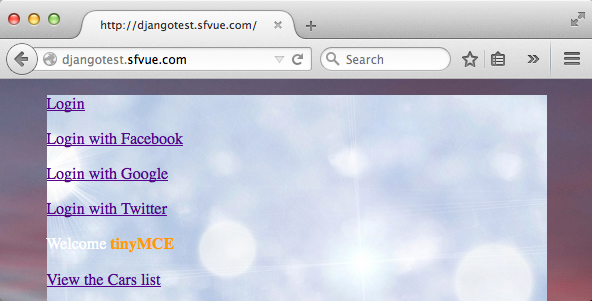
Click "Login with Twitter" link:
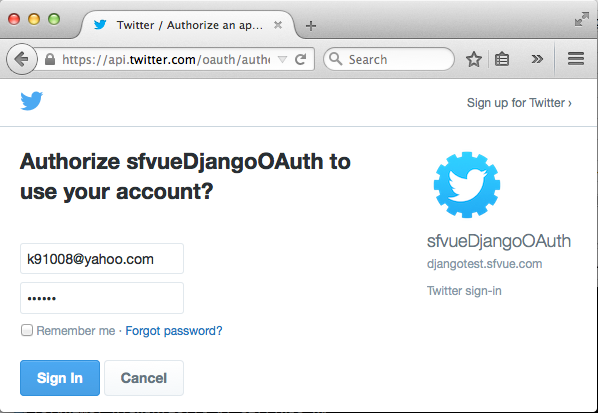
Click "Sign In:
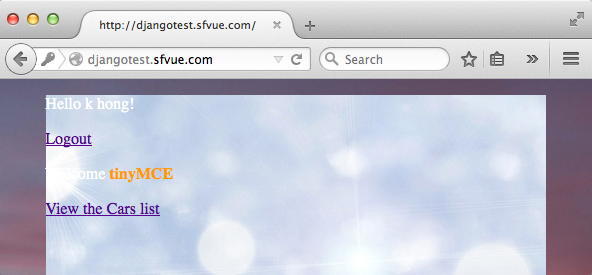
Now we are logged in with Twitter:
Ph.D. / Golden Gate Ave, San Francisco / Seoul National Univ / Carnegie Mellon / UC Berkeley / DevOps / Deep Learning / Visualization