Meteor Angular App with MongoDB (Part III - Facebook / Twitter / Google logins)

Though this tutorial is a continued material from my previous tutorials including Meteor Angular Todo App with MongoDB (Part II), I will try to make this one as a separate one, just focused on Social Authentication.
The background app is so simple that we can easily replace it with our own app. In that sense, this tutorial is all about the logins with Facebook/Twitter/GooglePlus.
The previous chapter ended with this:
The codes are still very simple probably because I skipped couple of steps. Only the highlighted parts are needed for our social login.
simple-todos-angular.js:
Items = new Mongo.Collection('items');

if (Meteor.isClient) {

  // This code only runs on the client
  angular.module('simple-todos',['angular-meteor', 'accounts.ui']);

  angular.module('simple-todos').controller('TodosListCtrl', ['$scope', '$meteor',
    function ($scope, $meteor) {

      $scope.items = $meteor.collection( function() {
        return Items.find({}, { sort: { createdAt: -1 } })
      });

      $scope.addItem = function (newItem) {
        $scope.items.push( {
          text: newItem,
          createdAt: new Date() }
        );
      };

    }]);
}
simple-todos-angular.html:
<head>
  <title>Todo List</title>
</head>

<body>
<div class="container"
  ng-app="simple-todos"
  ng-controller="TodosListCtrl">

  <header>
    <h1>Todo List</h1>

    <login-buttons></login-buttons>

    <form class="new-item" ng-submit="addItem(newItem); newItem='';">
      <input ng-model="newItem" type="text"
             name="text" placeholder="Type to add new items" />
    </form>
  </header>

  <ul>
    <li ng-repeat="item in items" ng-class="{'checked': item.checked}">
      <button class="delete" ng-click="items.remove(item)">×</button>
      <input type="checkbox" ng-model="item.checked" class="toggle-checked" />
      <span class="text">{{item.text}}</span>
    </li>
  </ul>

</div>
</body>
As told you earlier, though I will continue this tutorial where I left off in previous chapter, we can start from scratch like this:
$ curl https://install.meteor.com/ | sh
$ meteor create facebook
$ cd facebook
$ meteor add accounts-ui accounts-facebook
$ meteor
Then, all we have to do is to just chuck loginButtons anywhere in our <body> template in facebook.html as done in our tutorial:
<body>
  ...
  <login-buttons></login-buttons>
  ...
</body>
Open a browser and type in http://localhost:3000 to see our UI.
Now, the only thing left is a configuration.
To get accounts functionality, first we need to add login UI package to our app with :
$ meteor add:accounts-ui
This package allows us to use loginButtons in our templates to add an automatically generated UI that will let users log into our app.
Meteor provides the following major logins:
- accounts-password
This is a normal user login package. It will allow users to log in with passwords. When we add it, the loginButtons dropdown will automatically gain email and password fields. - accounts-facebook
- accounts-github
- accounts-google
- accounts-twitter
Assuming we've already added it using the following command:
$ meteor add accounts-facebook
OK, let's start the delayed Facebook configuration.
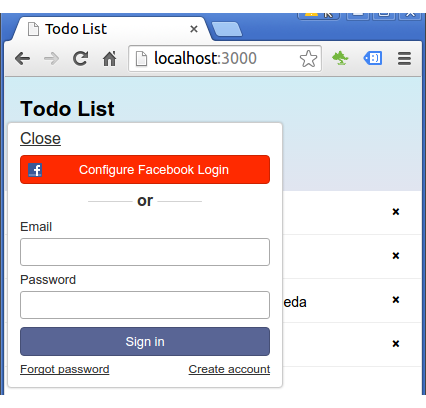
When we click "Configure Facebook" button on the Login dropdown, we get the following instructions about how to get Facebook App ID and App Secret:
First, you'll need to register your app on Facebook. Follow these steps:
- Visit https://developers.facebook.com/apps
- Click "Add a New App".
- Select "Website" and type a name for your app.
- Click "Create New Facebook App ID".
- Select a category in the dropdown and click "Create App ID".
- Under "Tell us about your website", set Site URL to: http://localhost:3000/ and click "Next".
- Click "Skip to Developer Dashboard".
- Go to the "Settings" tab and add an email address under "Contact Email". Click "Save Changes".
- Go to the "Status & Review" tab and select Yes for "Do you want to make this app and all its live features available to the general public?". Click "Confirm".
- Go back to the Dashboard tab.
- Now, copy over some details.
App ID
App Secret
After finishing the steps above, Meteor gives an option for the style of Facebook login:
Choose the login style:
â Popup-based login (recommended for most applications)
â Redirect-based login (special cases explained here)
Then, we may want to press "Save Configuration" button.
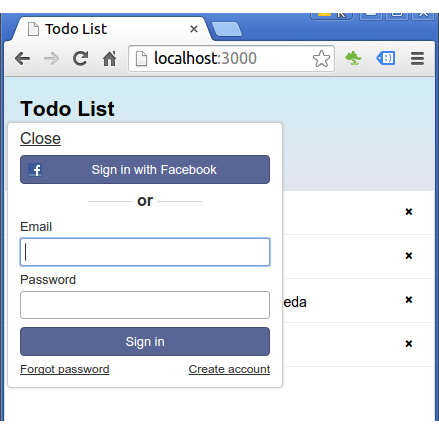
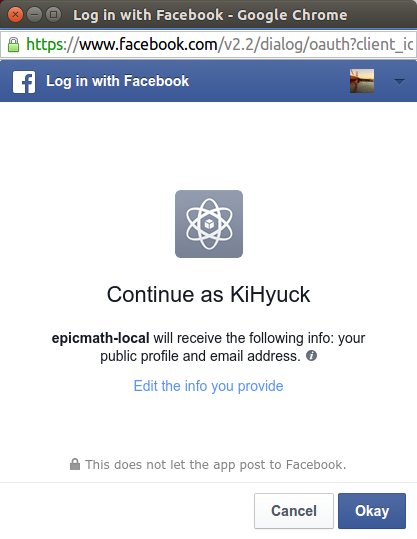
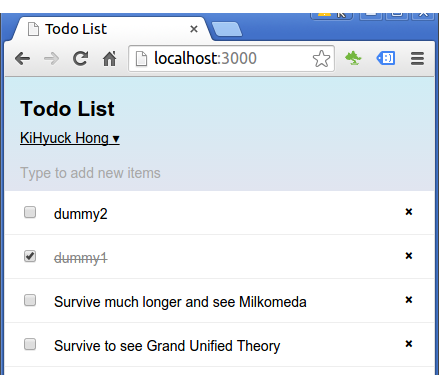
Now, logged in via Facebook!
We're going to take similar steps to the Facebook case.
Add twitter package to our app:
$ meteor add accounts-twitter
Now in our Login dropdown, we have added Twitter which needs configuration to make it work:
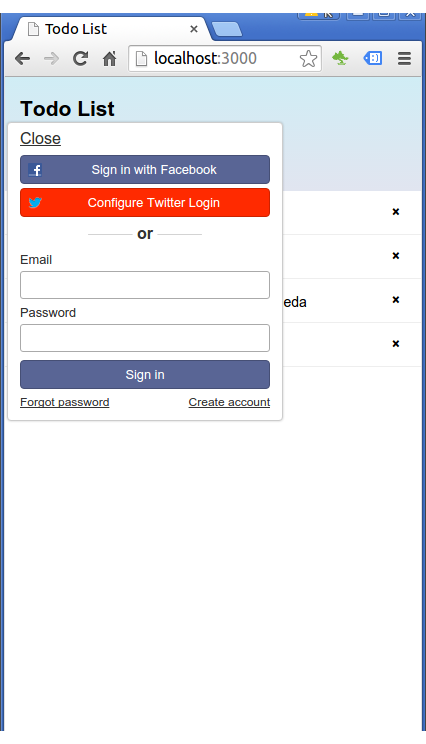
At the click on "Configure Twitter Login", we get the following instructions for "API key" and "API secret"
First, you'll need to register your app on Twitter. Follow these steps:
- Visit https://dev.twitter.com/apps/new
- Set Website to: http://127.0.0.1:3000/
- Set Callback URL to: http://127.0.0.1:3000/_oauth/twitter
- Select "Create your Twitter application".
- On the Settings tab, enable "Allow this application to be used to Sign in with Twitter" and click "Update settings".
- Switch to the "Keys and Access Tokens" tab.
Next as a final step, we need to copy over the API info, then click "Save Configuration"
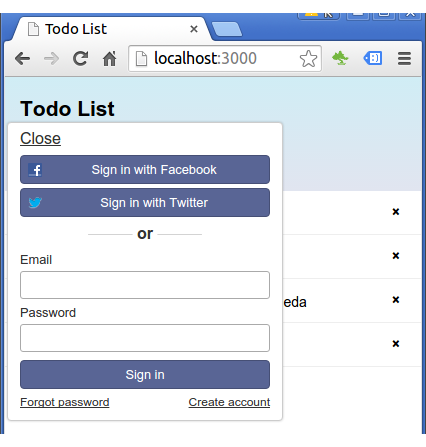
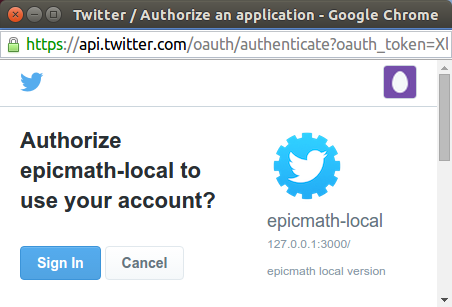
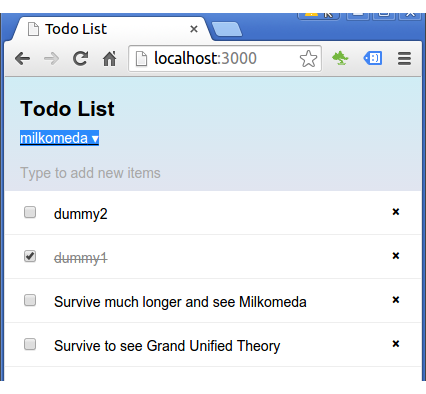
We see we're logged in via Twitter!
We're going to take similar steps to the other cases.
Add Google package to our app:
$ meteor add accounts-google
In our Login dropdown, we can see we've have added Google login which also needs configuration to make it work:
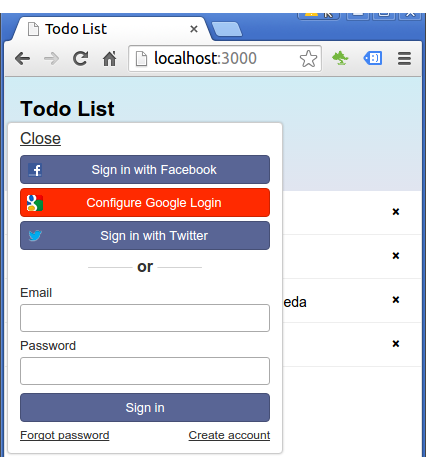
At the click on "Configure Google Login", we get the following instructions for "API key" and "API secret"
First, you'll need to get a Google Client ID. Follow these steps:
- Visit https://console.developers.google.com/
- "Create Project", if needed. Wait for Google to finish provisioning.
- On the left sidebar, go to "APIs & auth" and, underneath, "Consent Screen". Make sure to enter an email address and a product name, and save.
- On the left sidebar, go to "APIs & auth" and then, "Credentials".
- "Create New Client ID", then select "Web application" as the type.
- Set Authorized Javascript Origins to:
http://localhost:3000 - Set Authorized Redirect URI to:
http://localhost:3000/_oauth/google - Finish by clicking "Create Client ID".
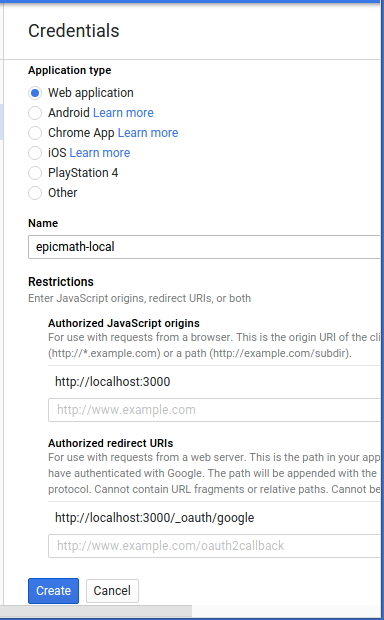
Next as a final step, we need to copy over the API info, then click "Save Configuration"
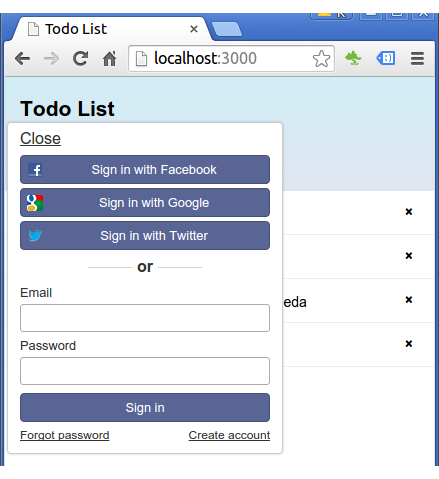
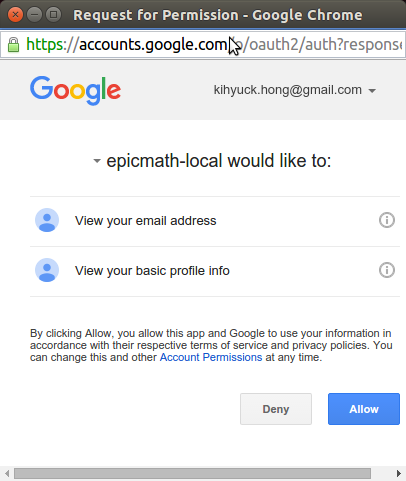
We see we're logged in via Google!
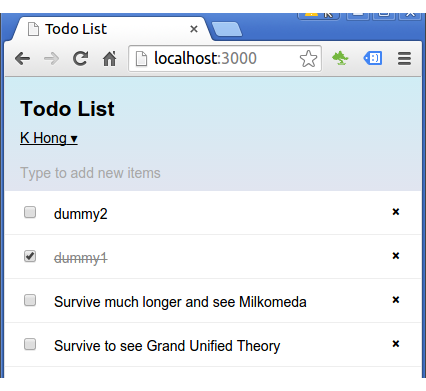
Source is available at angular-meteor-social-logins.
AngularJS
Ph.D. / Golden Gate Ave, San Francisco / Seoul National Univ / Carnegie Mellon / UC Berkeley / DevOps / Deep Learning / Visualization