GCP: Kubernetes Quickstart
We'll learn how to deploy a containerized application with Kubernetes Engine.
The example we use will show how to build and deploy a containerized Go web server application using Kubernetes.
This post closely follows the instructions in https://cloud.google.com/kubernetes-engine/docs/tutorials/hello-app.
-
Go to the
Kubernetes Engine page in the Google Cloud Platform Console.
- We need to Create or Select our project, in this case, it's "KubeQuickStart".
-
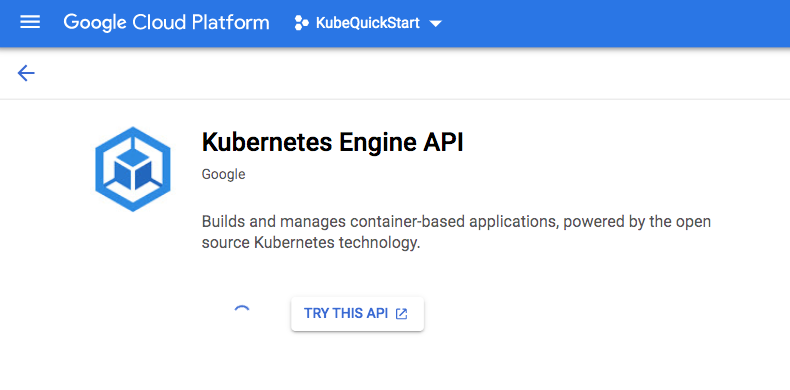
Make sure that the API and related services to be enabled.

This can take several minutes.
To complete this quickstart, we can use either Google Cloud Shell or our local shell. In this page, we'll use Google Cloud Shell.
Google Cloud Shell is a shell environment for managing resources hosted
on Google Cloud Platform (GCP). Cloud Shell comes preinstalled with the gcloud
and kubectl command-line tools. gcloud
provides the primary command-line interface for GCP, and kubectl provides the
command-line interface for running commands against
Kubernetes clusters.
To launch Cloud Shell, perform the following steps:
Go to Google Cloud Platform Console.
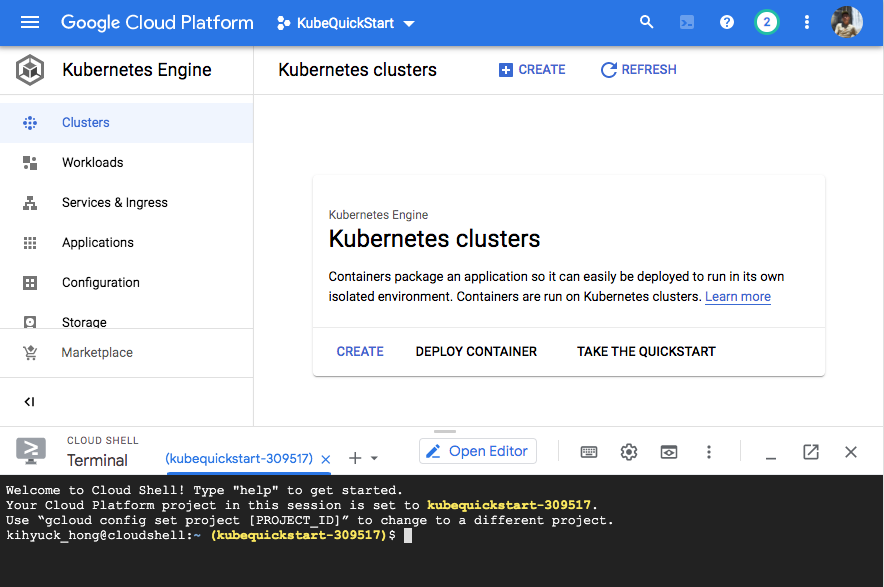
From the top-right corner of the console, click the Activate Google Cloud Shell button:

A Cloud Shell session opens inside a frame at the bottom of the console.

We use this shell to run gcloud and kubectl commands.
Before getting started, we should use gcloud to configure two default
settings: our default project and compute zone.
Our project has a project ID, which is its unique identifier. When we first create a project, we can use the automatically-generated project ID or we can create our own.
Our compute zone is an approximate regional location in which our clusters
and their resources live. For example, us-east1-a is a zone in the us-east
region.
Configuring these default settings makes it easier to run gcloud commands,
since gcloud requires that we specify the project and compute zone in which
we wish to work. We can also specify these settings or override default
settings by passing operational flags, such as --project, --zone, and
--cluster, to gcloud commands.
When we create Kubernetes Engine resources after configuring our default project and compute zone, the resources are automatically created in that project and zone.
Setting a default project
To set a default project, run the following command from Cloud Shell:
gcloud config set project PROJECT_ID
kihyuck_hong@cloudshell:~ $ gcloud config set project kubequickstart-309517
Updated property [core/project].
We replaced PROJECT_ID with our project ID.
Setting a default compute zone
To set a default compute zone, run the following command:
gcloud config set compute/zone COMPUTE_ZONE
where COMPUTE_ZONE is the desired geographical compute
zone, such as us-east4-a.
kihyuck_hong@cloudshell:~ (kubequickstart-309517)$ gcloud config set compute/zone us-east4-a
Updated property [compute/zone].
A cluster consists of at least one cluster master machine and multiple worker machines called nodes. Nodes are Compute Engine virtual machine (VM) instances that run the Kubernetes processes necessary to make them part of the cluster. We deploy applications to clusters, and the applications run on the nodes.
To create a cluster, run the following command syntax:
gcloud container clusters create
CLUSTER_NAME \
--num-nodes=1 \
--machine-type n1-standard-2 \
--cluster-version latest \
--zone us-east4-a
where CLUSTER_NAME is the name we choose for the
cluster. The actual command that creates a cluster looks like this:
kihyuck_hong@cloudshell:~ (kubequickstart-309517)$ gcloud container clusters create \
kube-quickstart-cluster \
--num-nodes=1 \
--machine-type e2-micro \
--cluster-version latest \
--zone us-east4-a

WARNING: Currently VPC-native is not the default mode during cluster creation. In the future, this will become the default mode and can be disabled using `--no-enable-ip-alias`
 flag. Use `--[no-]enable-ip-alias` flag to suppress this warning.
WARNING: Starting with version 1.18, clusters will have shielded GKE nodes by default.
WARNING: Your Pod address range (`--cluster-ipv4-cidr`) can accommodate at most 1008 node(s).
WARNING: Starting with version 1.19, newly created clusters and node-pools will have COS_CONTAINERD as the default node image when no image type is specified.
Creating cluster kube-quickstart-cluster in us-east4-a... Cluster is being health-checked (master is healthy)...done.
Created [https://container.googleapis.com/v1/projects/kubequickstart-309517/zones/us-east4-a/clusters/kube-quickstart-cluster].
To inspect the contents of your cluster, go to: https://console.cloud.google.com/kubernetes/workload_/gcloud/us-east4-a/kube-quickstart-cluster?project=kubequickstart-309517
kubeconfig entry generated for kube-quickstart-cluster.
NAME                     LOCATION    MASTER_VERSION    MASTER_IP    MACHINE_TYPE  NODE_VERSION      NUM_NODES  STATUS
kube-quickstart-cluster  us-east4-a  1.18.16-gke.2100  34.86.0.156  e2-micro      1.18.16-gke.2100  1          RUNNING
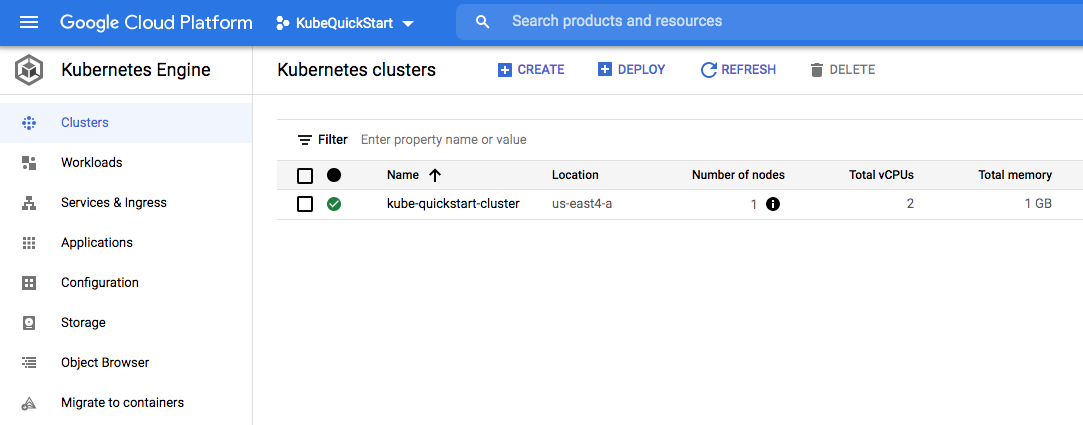
We can also check it from console:

After creating our cluster, we need to get authentication credentials to interact with the cluster.
To authenticate for the cluster, run the following command:
gcloud container clusters get-credentials CLUSTER_NAME
kihyuck_hong@cloudshell:~ (kubequickstart-309517)$ gcloud container clusters get-credentials kube-quickstart-cluster
Fetching cluster endpoint and auth data.
kubeconfig entry generated for kube-quickstart-cluster.
This command configures kubectl to use the cluster we created.
Now that we have created a cluster, we can deploy a containerized
application to it. For this quickstart, we can deploy our example web
application, hello-app.
Kubernetes Engine uses Kubernetes objects to create and manage our cluster's resources. Kubernetes provides the Deployment object for deploying stateless applications like web servers. Service objects define rules and load balancing for accessing our application from the Internet.
To run hello-app in our cluster, run the following command:
kihyuck_hong@cloudshell:~ (kubequickstart-309517)$ kubectl create deployment hello-server \
--image=gcr.io/google-samples/hello-app:2.0
deployment.apps/hello-server created
This Kubernetes command, kubectl create deployment,
creates a Deployment named hello-server. The Deployment's Pod runs the
hello-app image in its container.
In the command,
the --image specifies a container image to deploy. In this case, the
command pulls the example image from a Google Container Registry
bucket, gcr.io/google-samples/hello-app. :2.0
indicates the specific image version to pull. If a version is not
specified, the latest version is used.
After deploying the application, we need to expose it to the Internet so that users can access it. We can expose our application by creating a Service, a Kubernetes resource that exposes our application to external traffic.
To expose our application, run the following
kubectl expose
command:
kihyuck_hong@cloudshell:~ (kubequickstart-309517)$ kubectl expose deployment hello-server \
--type LoadBalancer \
--port 80 \
--target-port 8080
service/hello-server exposed
Passing in the --type LoadBalancer flag creates a Compute Engine load balancer
for our container. The --port flag initializes public port 80 to the Internet
and --target-port routes the traffic to port 8080 of the application.
Load balancers are billed per Compute Engine's load balancer pricing.
- Inspect the running Pods by using
kubectl get pods:kihyuck_hong@cloudshell:~ (kubequickstart-309517)$ kubectl get pods NAME READY STATUS RESTARTS AGE hello-server-c8f888494-l7nzn 1/1 Running 0 6m40s
We should see one hello-server Pod running on our cluster. -
Inspect the
hello-serverService by runningkubectl get:kihyuck_hong@cloudshell:~ (kubequickstart-309517)$ kubectl get service hello-server NAME TYPE CLUSTER-IP EXTERNAL-IP PORT(S) AGE hello-server LoadBalancer 10.119.240.11 35.245.124.80 80:32490/TCP 92s
From this command's output, copy the Service's external IP address from the
EXTERNAL-IPcolumn. -
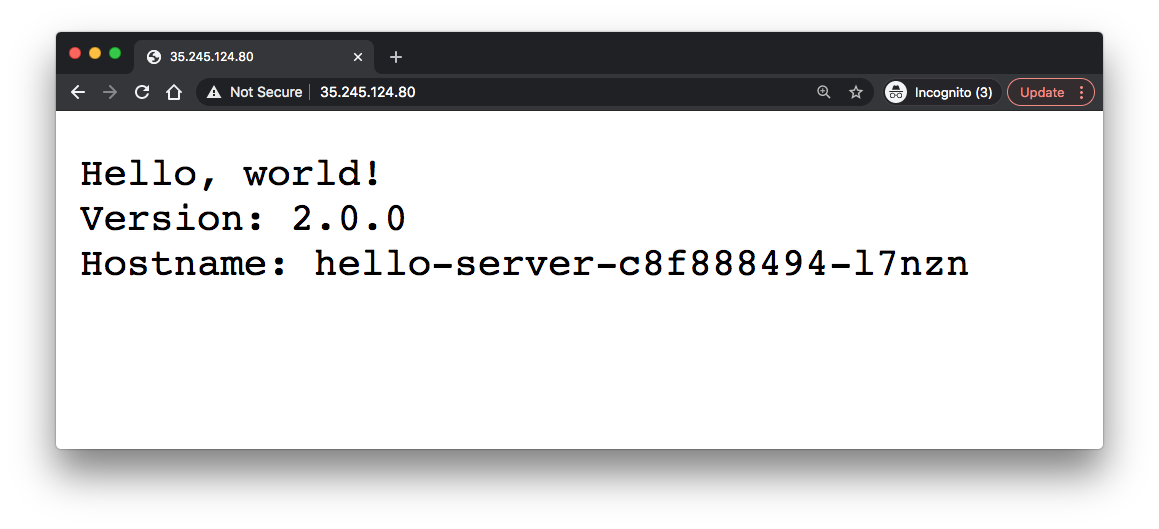
View the application from our web browser using the external IP address with the exposed port:
http://EXTERNAL_IP/

We have just deployed a containerized web application to Kubernetes Engine!
To avoid incurring charges to our Google Cloud Platform account for the resources used in this quickstart:
-
Delete the application's Service by running
kubectl delete:This will delete the Compute Engine load balancer that we created when we exposed the deployment.
kihyuck_hong@cloudshell:~ (kubequickstart-309517)$ kubectl delete service hello-server
service "hello-server" deleted
-
Delete our cluster by running
gcloud container clusters delete:gcloud container clusters delete CLUSTER_NAME
kihyuck_hong@cloudshell:~ (kubequickstart-309517)$ gcloud container clusters delete kube-quickstart-cluster
The following clusters will be deleted.
 - [kube-quickstart-cluster] in [us-east4-a]

Do you want to continue (Y/n)?  Y

Deleting cluster kube-quickstart-cluster...done.
Deleted [https://container.googleapis.com/v1/projects/kubequickstart-309517/zones/us-east4-a/clusters/kube-quickstart-cluster].
hello-app is a simple web server application consisting of two files: main.go
and a Dockerfile.
hello-app is packaged as Docker container image.
Container images are stored in any Docker image registry, such as
Google Container Registry. We host hello-app in a Container Registry bucket
named gcr.io/google-samples/hello-app.
The codes are available from https://github.com/GoogleCloudPlatform/kubernetes-engine-samples/tree/master/hello-app.
hello-app/main.go:
// [START container_hello_app]
package main

import (
	"fmt"
	"log"
	"net/http"
	"os"
)

func main() {
	// register hello function to handle all requests
	mux := http.NewServeMux()
	mux.HandleFunc("/", hello)

	// use PORT environment variable, or default to 8080
	port := os.Getenv("PORT")
	if port == "" {
		port = "8080"
	}

	// start the web server on port and accept requests
	log.Printf("Server listening on port %s", port)
	log.Fatal(http.ListenAndServe(":"+port, mux))
}

// hello responds to the request with a plain-text "Hello, world" message.
func hello(w http.ResponseWriter, r *http.Request) {
	log.Printf("Serving request: %s", r.URL.Path)
	host, _ := os.Hostname()
	fmt.Fprintf(w, "Hello, world!\n")
	fmt.Fprintf(w, "Version: 1.0.0\n")
	fmt.Fprintf(w, "Hostname: %s\n", host)
}
hello-app/Dockerfile:
FROM golang:1.8-alpine
ADD . /go/src/hello-app
RUN go install hello-app

FROM alpine:latest
COPY --from=0 /go/bin/hello-app .
ENV PORT 8080
CMD ["./hello-app"]
Note that the Dockerfile is using multistage builds feature which enables us to create smaller container images with better caching and smaller security footprint.
GCP (Google Cloud Platform)
Ph.D. / Golden Gate Ave, San Francisco / Seoul National Univ / Carnegie Mellon / UC Berkeley / DevOps / Deep Learning / Visualization