Jenkins on EC2 : Setting up master and slave nodes

In this tutorial, we'll setup 1 master and 2 slaves on EC2 Ubuntu.
Then, we're going to run two jobs on Jenkins master and see how the loads are distributed across server/slave nodes.
This tutorial is based on the following 2 references:
We need to create 3 instances: one for master and two for slave nodes:

The Security Group looks like this:

Here are our nodes just created:
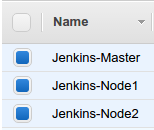
To enable talks between our master and slave nodes, we need to to public key (id_rsa.pub) of the master into slave's authorized_keys.
First, generate the key on Master node (52.53.240.42):
$ ssh-keygen -t rsa
We need to copy master's ~/.ssh/id_rsa.pub and put it into our slave nodes' authorized_keys.
So, on the slave node 1, issue the following command:
$ echo "ssh-rsa AAAAB3NzaC1yc2EAAAADAQABAAABAQCxhy2b6q/nX+iMY4jyymwCEBKPPGbeG+x0OhVgoribLfDvE9ilDnzgRNnQ0deezqpiEpNQZTMn4/4kpFjHwJPMLnKTbwRW/2gu/h1GMtbYJuEzpgkezBVJCfGbOX6S+J6AYcvKDVKwOXOSPh/hezTg23Qe+Jw5IjT4O+D5halfYG2NPVF098eYBpoKjm1P4uByB9+BGPJM7avjzhv4WS5ZNTxLPVQPKX0Np7NXAju3dp6RxYHomAOOR3H90VLvc7p9IuQUv5NnjM2i1da/0B6EeUAdgB0VwsSdqNXF98QQtIsqQogb3eoERyZDEsOrXVDTNyoBV59BECEK0TlTOe7T ubuntu@ip-172-31-20-240" >> ~/.ssh/authorized_keys
Do the same on slave node 2.
Ref: Installing Jenkins on Ubuntu.
$ wget -q -O - https://jenkins-ci.org/debian/jenkins-ci.org.key | sudo apt-key add -
$ sudo sh -c 'echo deb http://pkg.jenkins-ci.org/debian-stable binary/ > /etc/apt/sources.list.d/jenkins.list'
$ sudo apt-get update
$ sudo apt-get upgrade
$ sudo apt-get install jenkins
Run Jenkins:
$ sudo service jenkins start
SSH into slave nodes, upgrade the packages, and install a Java Runtime Environment:
$ sudo apt-get update
$ sudo apt-get upgrade
$ sudo apt-get install default-jre
That's the only package Jenkins needs for slaves by default.
The Jenkins default port 8080 is not opened in our security group. So, we need to setup Nginx to proxy port 80 to 8080 so that we can keep Jenkins on 8080.
Install Nginx:
$ sudo apt-get install nginx
Remove default configuration:
$ cd /etc/nginx/sites-available
$ sudo rm default ../sites-enabled/default
Our Nginx proxy conf file (/etc/nginx/sites-available/jenkins) looks like this:
upstream app_server {
    server 127.0.0.1:8080 fail_timeout=0;
}

server {
    listen 80;
    listen [::]:80 default ipv6only=on;
    server_name ec2-52-53-240-42.us-west-1.compute.amazonaws.com;

    location / {
        proxy_set_header X-Forwarded-For $proxy_add_x_forwarded_for;
        proxy_set_header Host $http_host;
        proxy_redirect off;

        if (!-f $request_filename) {
            proxy_pass http://app_server;
            break;
        }
    }
}
Link the configuration from sites-available to sites-enabled:
$ sudo ln -s /etc/nginx/sites-available/jenkins /etc/nginx/sites-enabled/
Then, restart Nginx:
$ sudo service nginx restart
Open up browser. Jenkins is now available on port 80:
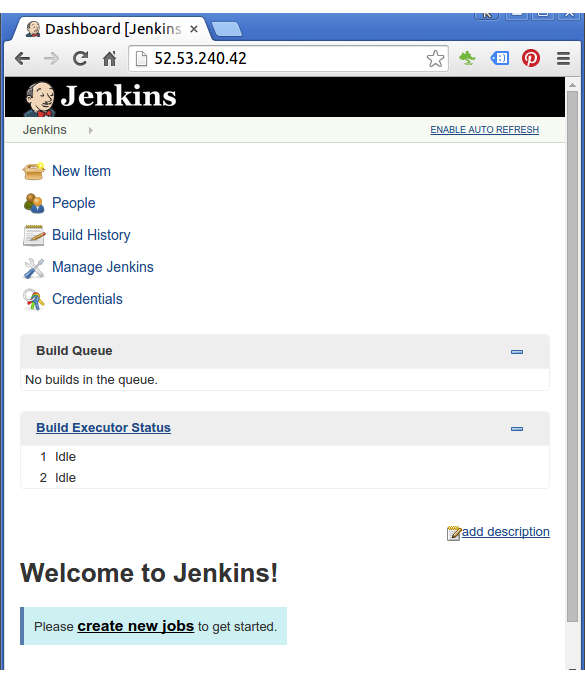
Click on "Build Executor Status":
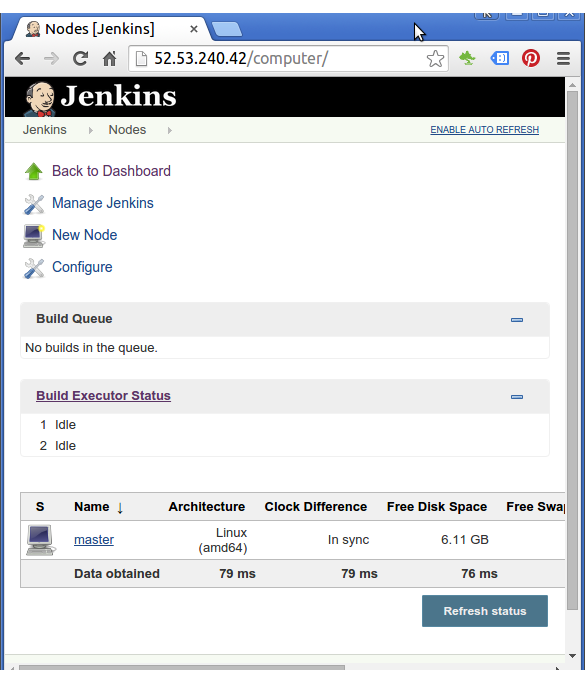
We only see the master node at this point.
Let's add new nodes for our slaves.
Click New Node:
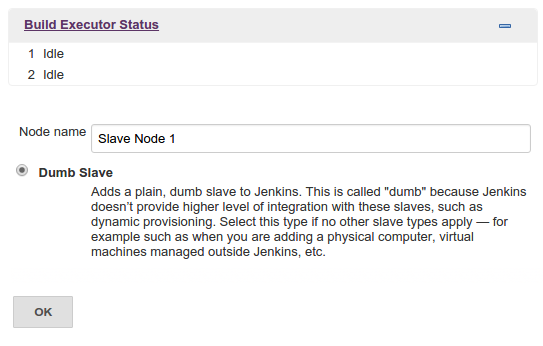
Hit OK:
Type in "Remote root directory" and make sure to use private ip for the Host.
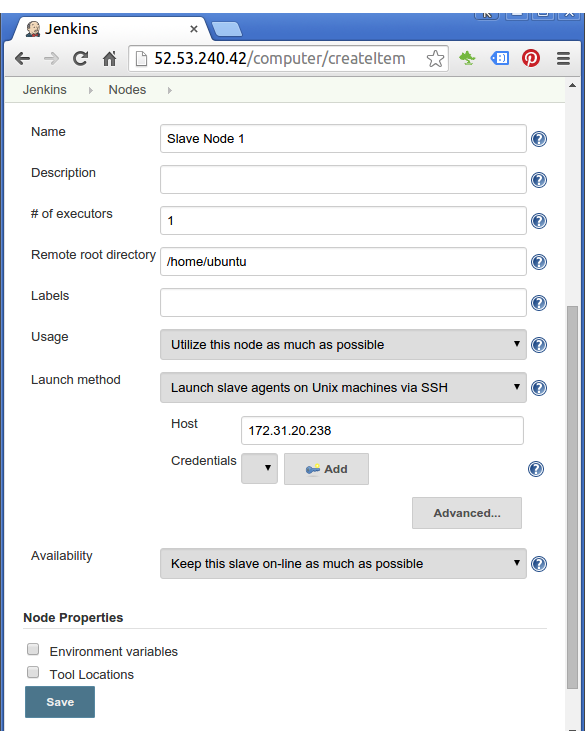
Click "Add" button on Credentials:
Type in "Username" and copy the private key (~/.ssh/id_rsa) of the master server:
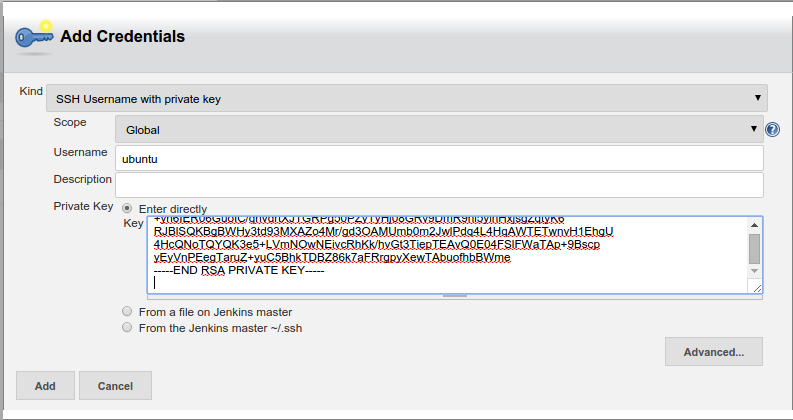
Hit "Add":
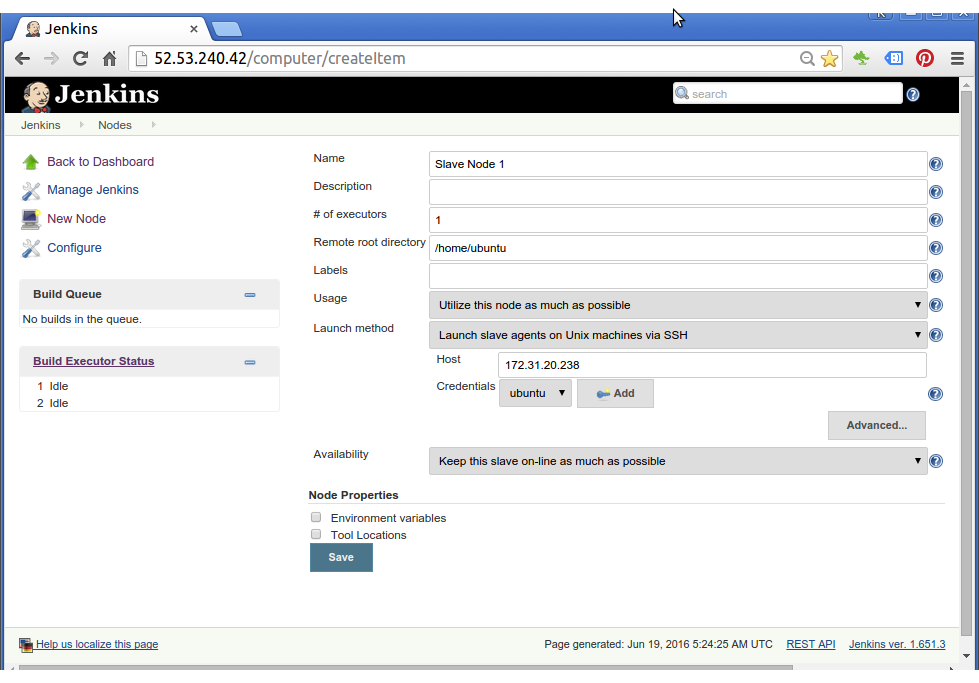
Click "Save"
Now we can see our Slave Node #1 is up and connected:
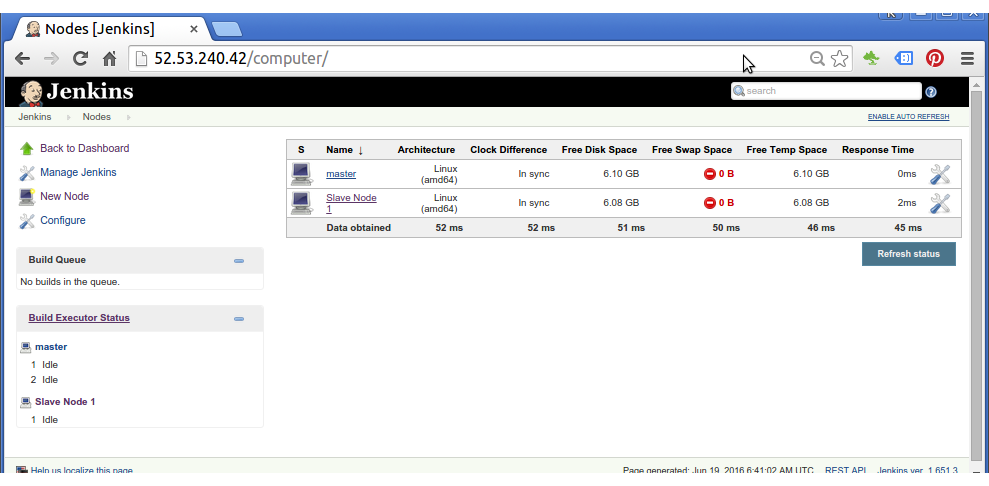
Click "Save"
Do the same to Slave Node #2. This time we'll use "Copy Existing Node":

Make sure type in private ip address of Slave Node #2.
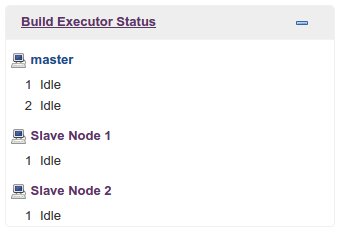
Now we have one master and two slave nodes are linked up and running:

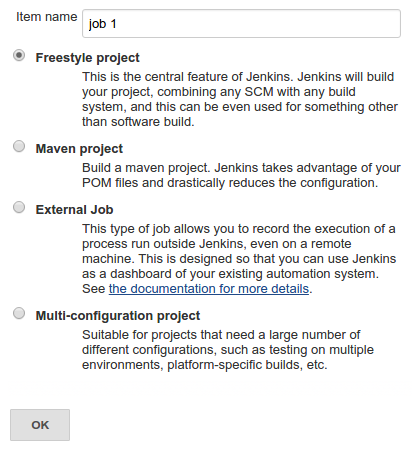
Go to Jenkins Dashboard and create two new jobs.
We're going to run a very simple job: sleep 30 seconds:
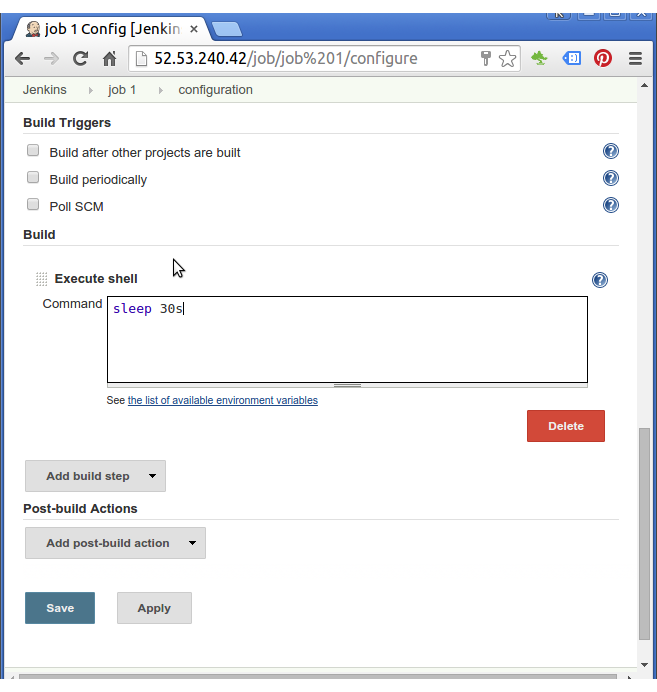
Click "Save".
Create another one for job 2 doing the same thing: sleep 30s.
Now the two jobs are running: one on master the other one on slave #2:
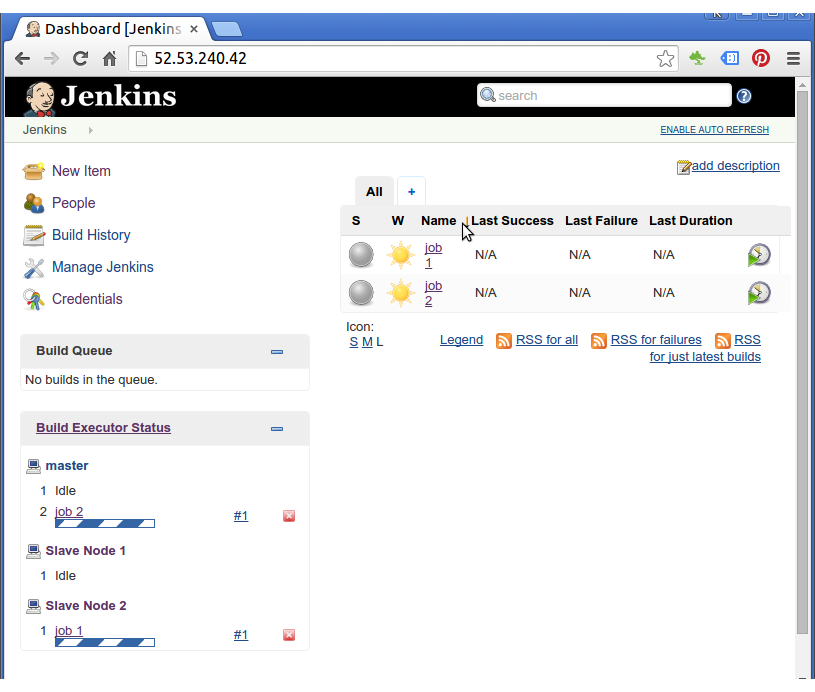
If we run 3 jobs, there will be no idling slave node.
Jenkins
Ph.D. / Golden Gate Ave, San Francisco / Seoul National Univ / Carnegie Mellon / UC Berkeley / DevOps / Deep Learning / Visualization